How big is Castaways
- 10,000
- islands in total: 4,444 for Broker holders and 5,556 in the Deed sale
- 8
- climates
- 5
- classes of people, from Castaways to Nobles
- 4
- research paths with 5 tiers each
- 343
- kinds of buildings
- 202
- kinds of goods, counting Doubloons
- 300
- recipes
- 3,460
- kinds of items that can be held in a wallet
- 748
- blueprints
- 200
- captains
- 30
- wonders, one of each
- 48
- relics that exist only once
- 513
- Genesis editions that exist only once
- 176,553
- land parcels at most
Deeds left in the sale: 5,550 of 5,556, as of 11 October 2026.
What you are trying to do
There is no final win. You grow your island into a bigger and richer town, and you decide how much you trade, explore, build or fight along the way.
Your people come in five classes: Castaways, Settlers, Artisans, Merchants and Nobles. You start with two Castaways, a Lean-to, a Campfire and a Crate Pile. Your first supplies are 60 Driftwood, 30 Fish, 30 Fresh Water, 20 Coconuts and 50 Doubloons. Doubloons are the game’s coin.
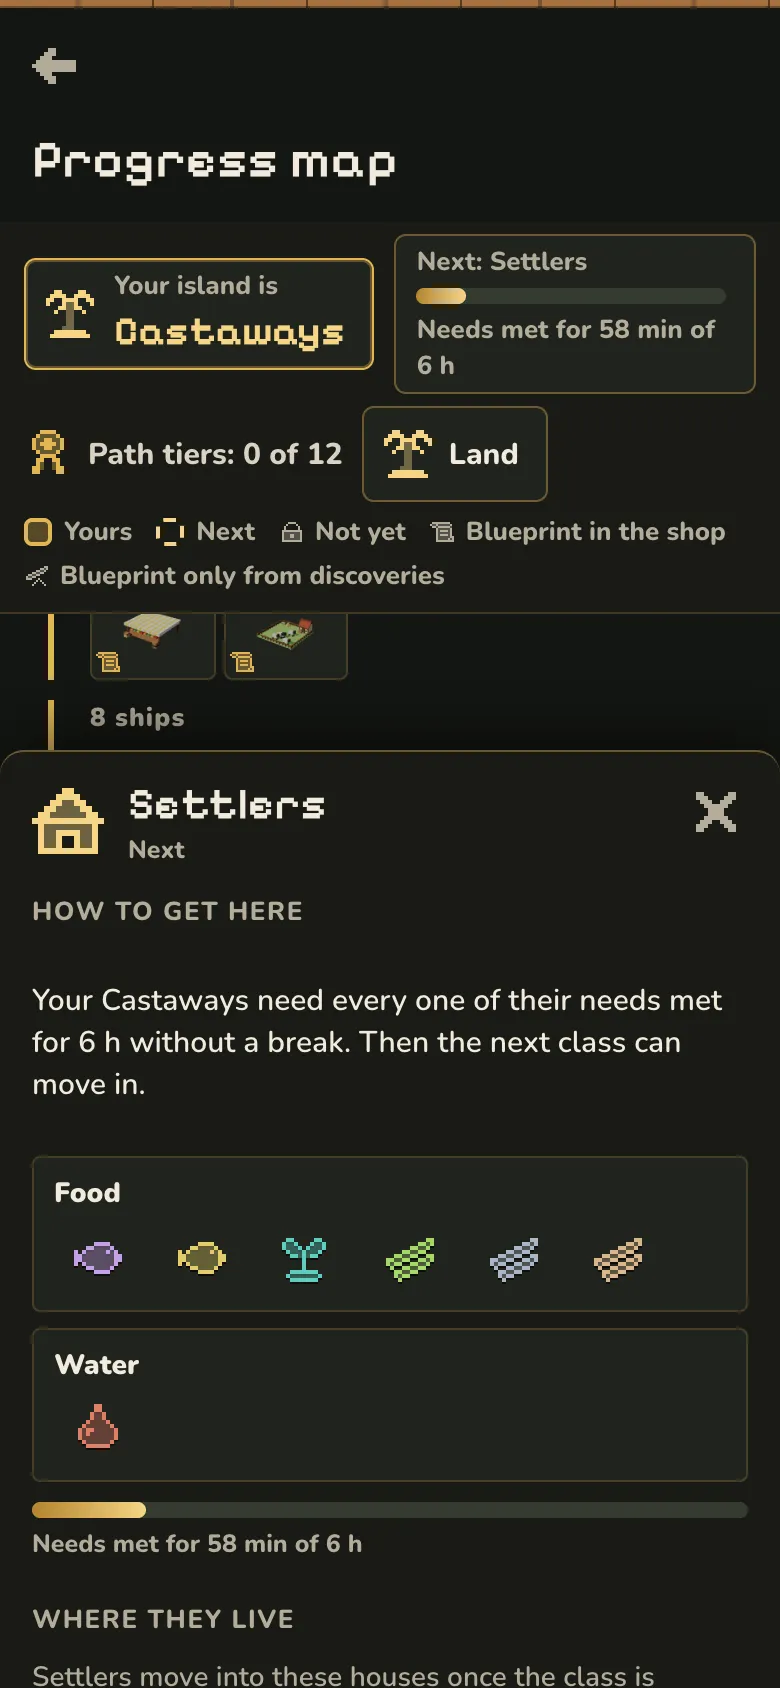
A new class moves in by itself. Every need of the class before it has to stay supplied without a break: 6 hours for Settlers, and 24 hours for each class after that. If one need runs out, that clock starts again from zero.
Your Castaways stay Castaways when Settlers arrive. Each class has its own homes, so a new class needs new houses.
New people arrive only while there are free homes and happiness is at least 50. Happiness of 80 or more gives 10% more production and 20% more taxes. Below 50, production drops to 80%. Below 20, one person of that class leaves every ten minutes and one of its working buildings stops every hour.
The level shown next to your island’s name is the level of its Unicorn Castle. It has nothing to do with your classes.
Advice
Keep food, water and free homes covered before you start anything optional. A shortage resets the clock for the next class, and it can cost you output and people.
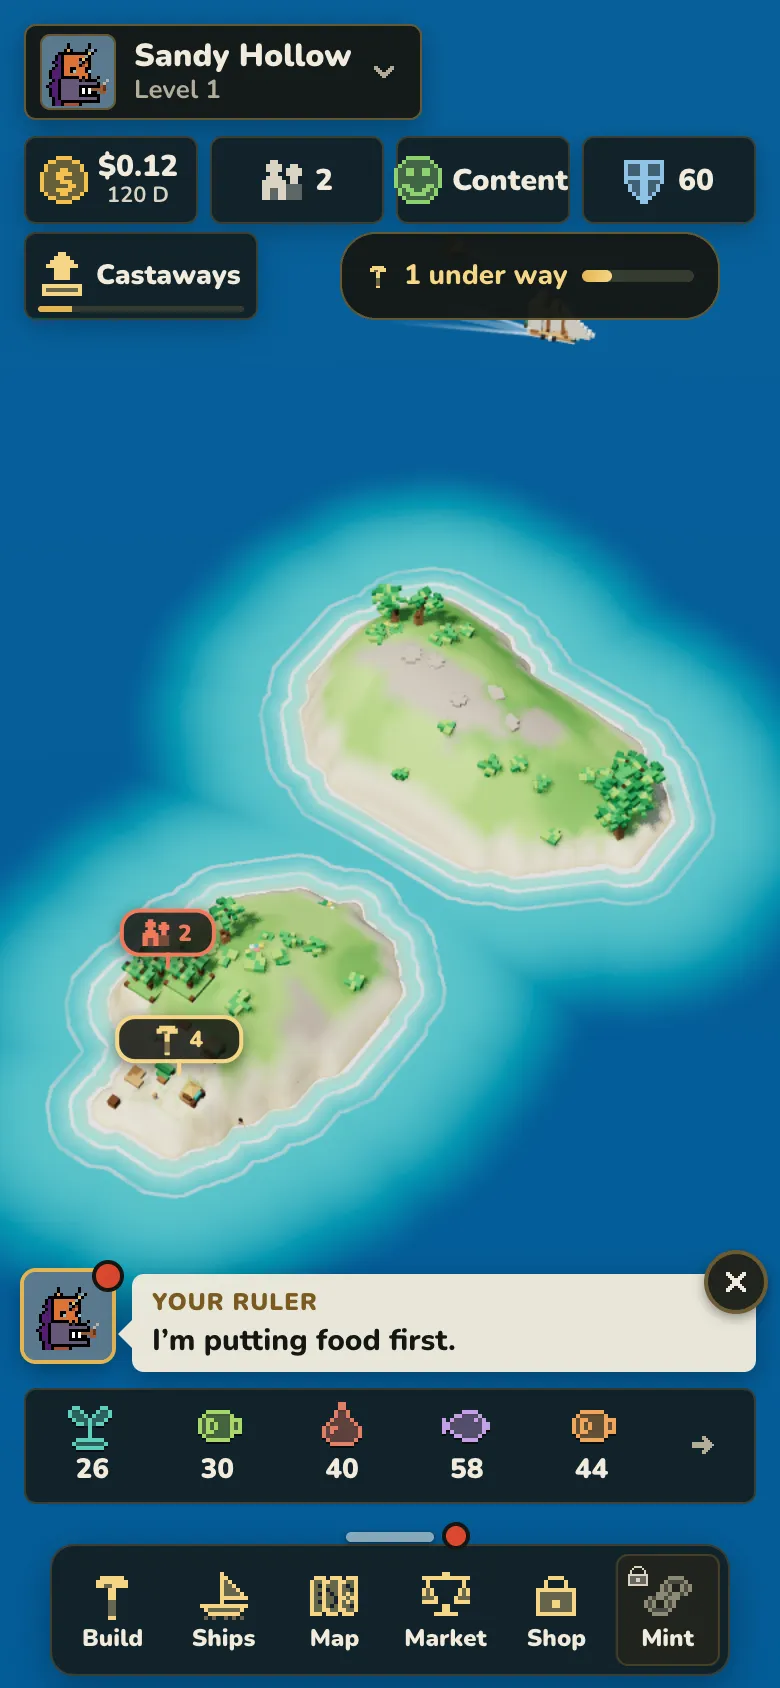
Your island and its climate
Every island has one of eight climates. If you heard of a “Palm” island, the game calls it Palm Reef.
Each climate has three native goods. Its native buildings make 4 of a good per hour at level 1 with all workers in place. How rich a deposit is varies from 90% to 110%. Listed crops grow 50% faster on their climates, which means 9 per hour instead of 6.
Climates at a glance
| Climate | Native goods | Crops that grow 50% faster | What is different |
|---|---|---|---|
| Palm Reef | Pearl Oysters, Coral, Sea Sponge | Rice, Sugarcane, Citrus, Bananas, Honey, Beeswax | Nothing is blocked. |
| Jungle | Mahogany, Rubber Sap, Cacao Pods | Rice, Sugarcane, Coffee Cherries, Bananas, Peppers, Vanilla Pods, Indigo Leaves, Silk Cocoons | Nothing is blocked. |
| Volcano | Obsidian, Sulphur, Basalt | Cotton, Coffee Cherries, Grapes, Peppers | The Seaweed Farm does not work. |
| Dune | Copper Ore, Saltpeter, Dates | Wheat, Cotton, Grapes, Citrus, Indigo Leaves, Goat Milk | The Clay Pit does not work. The Rain Cistern makes half, and Salt Pans make double. Most crops need a Greenhouse. |
| Frost | Silver Ore, Glacier Ice, Frost Pine | Barley, Flax, Hops | Shellfish Beds, Coconut Grove, Palm Grove, Salt Pans and Bamboo Grove do not work. Most crops need a Greenhouse. Winter slows outdoor work. |
| Crystal | Raw Crystal, Moonstone, Glowcap | Tea Leaves, Herbs, Silk Cocoons, Honey, Beeswax | The Clay Pit makes half. The Moonstone Grotto makes double at night. |
| Storm | Gold Ore, Fulgurite, Storm Kelp | Hemp, Vegetables, Cattle Hides | The Rain Cistern makes double. Storm weather adds 20% to native goods. |
| Highland | Iron Ore, Coal, Wool | Wheat, Barley, Hemp, Flax, Tea Leaves, Vegetables, Herbs, Hops, Goat Milk, Cattle Hides | Winter slows outdoor work. |
On Frost and Dune, 19 crop recipes need a working Greenhouse. The Greenhouse opens with Artisans, so those crops are not there at the start. In winter, outdoor work on Frost and Highland runs at 85%, and a blizzard cuts it to three quarters of that again.
Night adds 15% to Fish and Shellfish everywhere. Import workshops can make the native goods of other climates at 1.2 per hour, but never your own.
Advice
There is no single best climate. Highland suits a plan built on iron and tools. Palm Reef and Jungle suit their warm crops. Frost needs more planning for food, so lean on the Fishing Hut there.
Ranks and roles
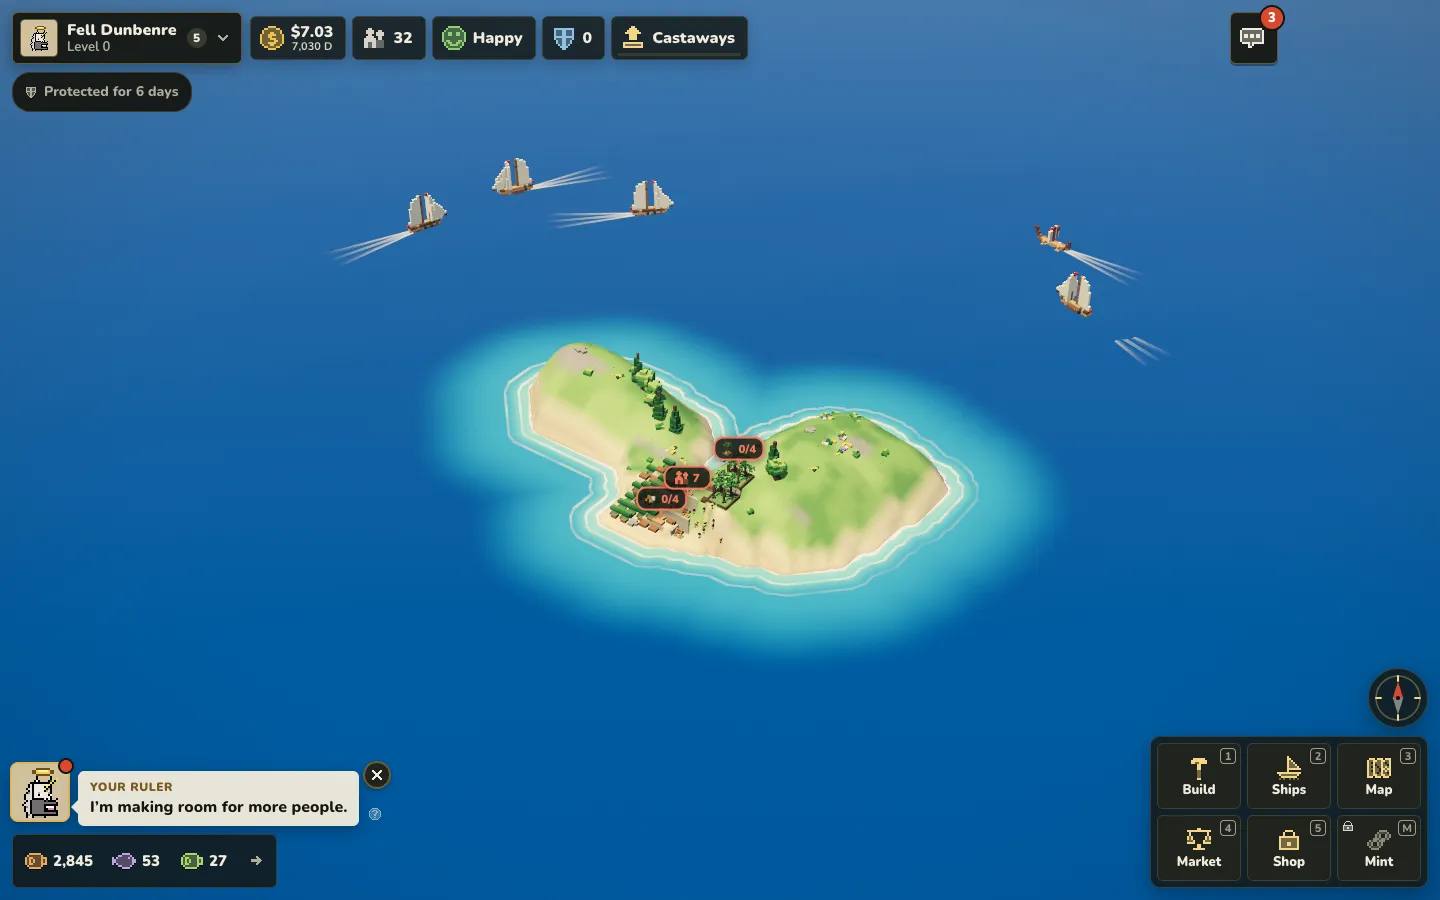
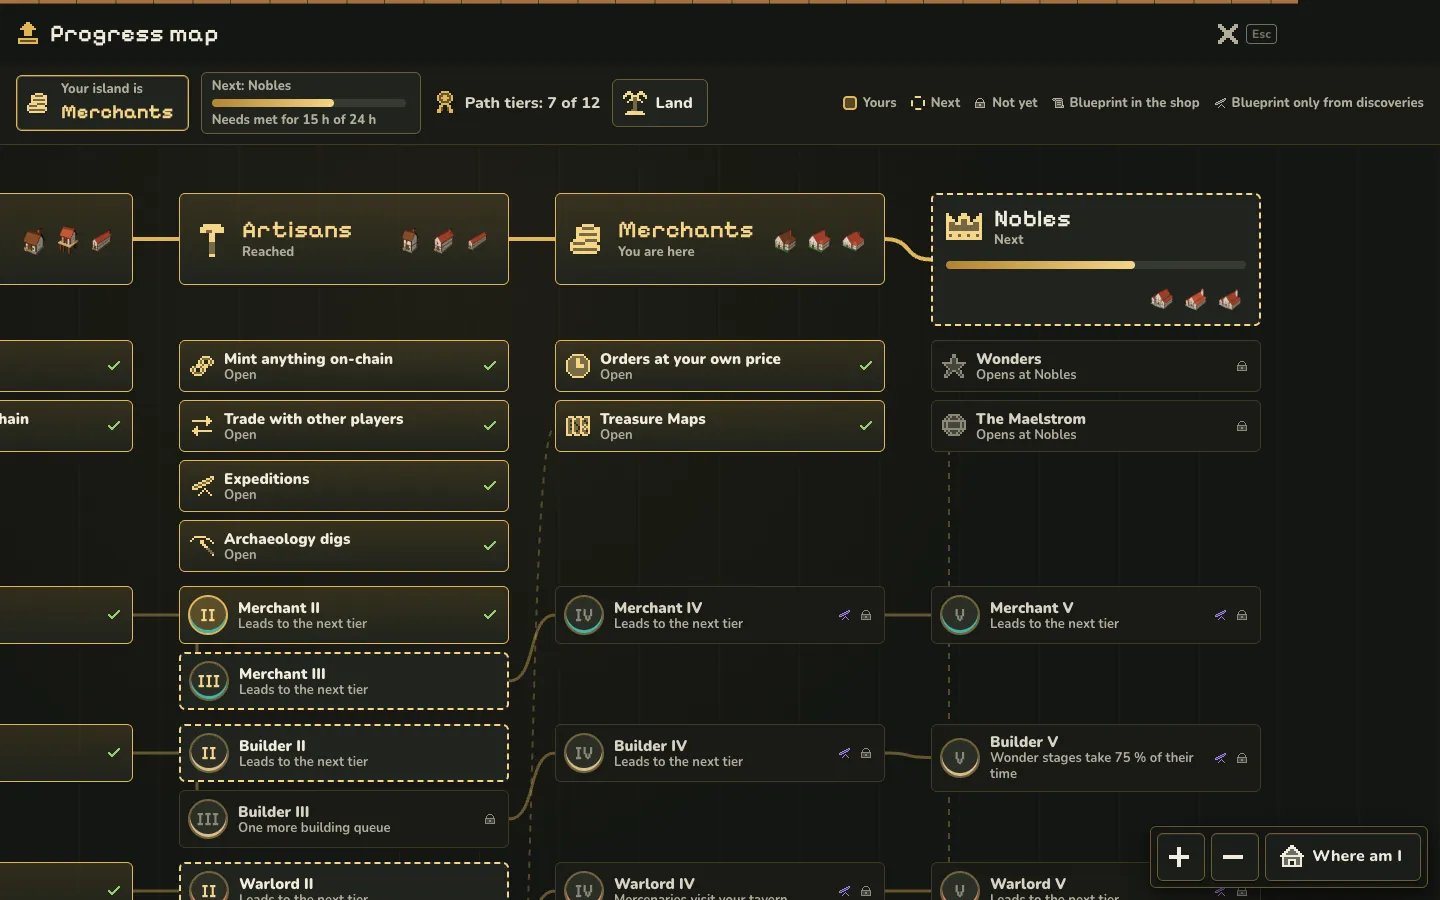
Two sets of names are easy to mix up. Your ranks are the five classes of people who live on your island. Paths are four kinds of research called Merchant, Builder, Warlord and Explorer. The Merchants class and the Merchant path are separate things.
The five classes
| Class | Moves in after | One new person every | Tax per person per hour | What they need | What opens |
|---|---|---|---|---|---|
| Castaways | You start here | 5 min | 0.1 Doubloons | Food, water | Fleets and raids, war, alliances |
| Settlers | 6 h of supplied Castaways | 10 min | 0.3 Doubloons | Food, water, cloth, firewood | The market with a Market Hall, minting raw goods |
| Artisans | 24 h of supplied Settlers | 20 min | 1 Doubloon | Food, water, cloth, tools, drink, furniture, soap | Trade with other players, expeditions, archaeology digs, minting anything |
| Merchants | 24 h of supplied Artisans | 40 min | 3 Doubloons | Food, water, drink, lamps, books, finery | Orders at your own price, Treasure Maps |
| Nobles | 24 h of supplied Merchants | 80 min | 8 Doubloons | Fine food, water, drink, fine clothing, jewellery, art | Wonders, The Maelstrom |
You do not pick a role. You can research all four paths and mix them as you like. Each path has five tiers, and one island can hold 12 tiers in total.
Tiers are researched in order. Each tier needs its blueprint, the path’s landmark building at least at the tier’s level, the right class and a bill of goods. Research takes as many hours as the tier number, and its bonus starts when it finishes.
What each path adds
| Path | Landmark building | What its tiers add |
|---|---|---|
| Merchant | Market Hall | No bonus of its own yet. |
| Builder | Sawmill | Tier III gives one more building queue. Tier V makes Wonder stages take 75% of their time. |
| Warlord | Watchtower | Tier IV brings mercenaries to your tavern. |
| Explorer | Jetty | Every tier adds 5 points to the chance of an extra expedition roll each day. Tier II lets you dig a second layer without a Rope Ladder, tier III opens Treasure Maps, and tier IV opens the third layer and adds 10 points to finding ruins and wrecks. Tier V opens The Maelstrom. |
What a tier costs, on top of its blueprint
| Tier | Class needed | Cost | Research time |
|---|---|---|---|
| I | Settlers | 100 Timber, 100 Stone, 250 Doubloons | 1 h |
| II | Artisans | 400 Timber, 400 Stone, 1,000 Doubloons | 2 h |
| III | Artisans | 1,200 Timber, 1,200 Stone, 3,000 Doubloons | 3 h |
| IV | Merchants | 3,000 Timber, 3,000 Stone, 7,500 Doubloons | 4 h |
| V | Nobles | 6,000 Timber, 6,000 Stone, 15,000 Doubloons | 5 h |
Market trading needs the Settlers class and a working Market Hall. Merchant research has no effect on it. The four tabs in the Build menu carry the path names, but they only sort the buildings. A Charter of Reform removes the latest tier of a path and gives back half of its Timber, Stone and Doubloons.
Advice
Builder III is worth it when you keep waiting for the building queue. Explorer helps expeditions from tier I. Merchant research can wait if all you want is to trade.
What to build first and what can wait
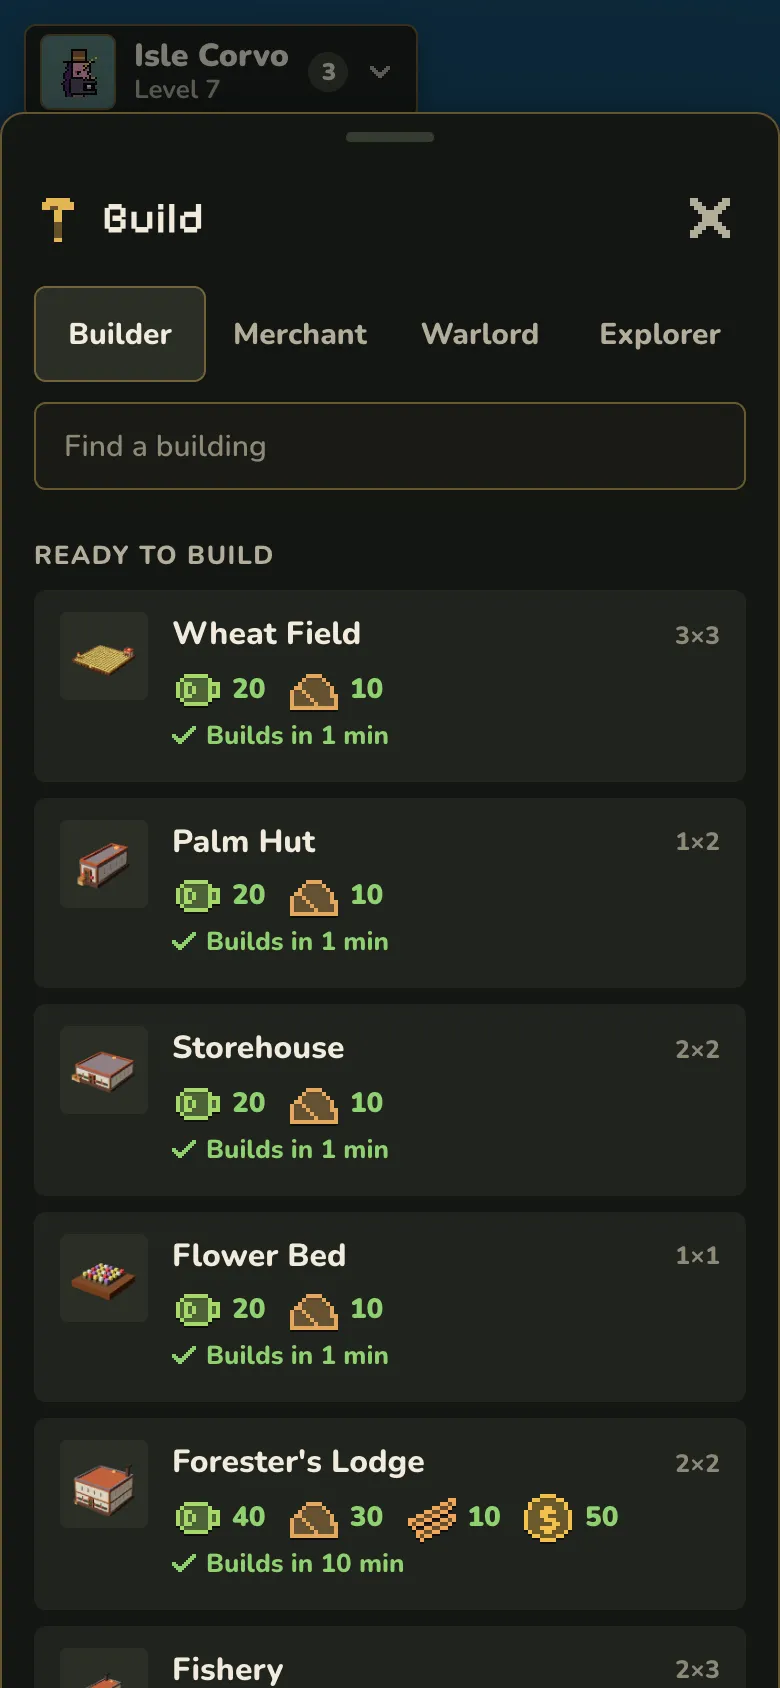
Starter buildings cost 10 Driftwood, take one minute and need no blueprint. Every other building needs a studied blueprint, a free spot, a free building queue and its materials.
First buildings, at level 1 with all workers
| Building | Cost | Workers | What it gives |
|---|---|---|---|
| Lean-to | 10 Driftwood | None | A home for 2 Castaways |
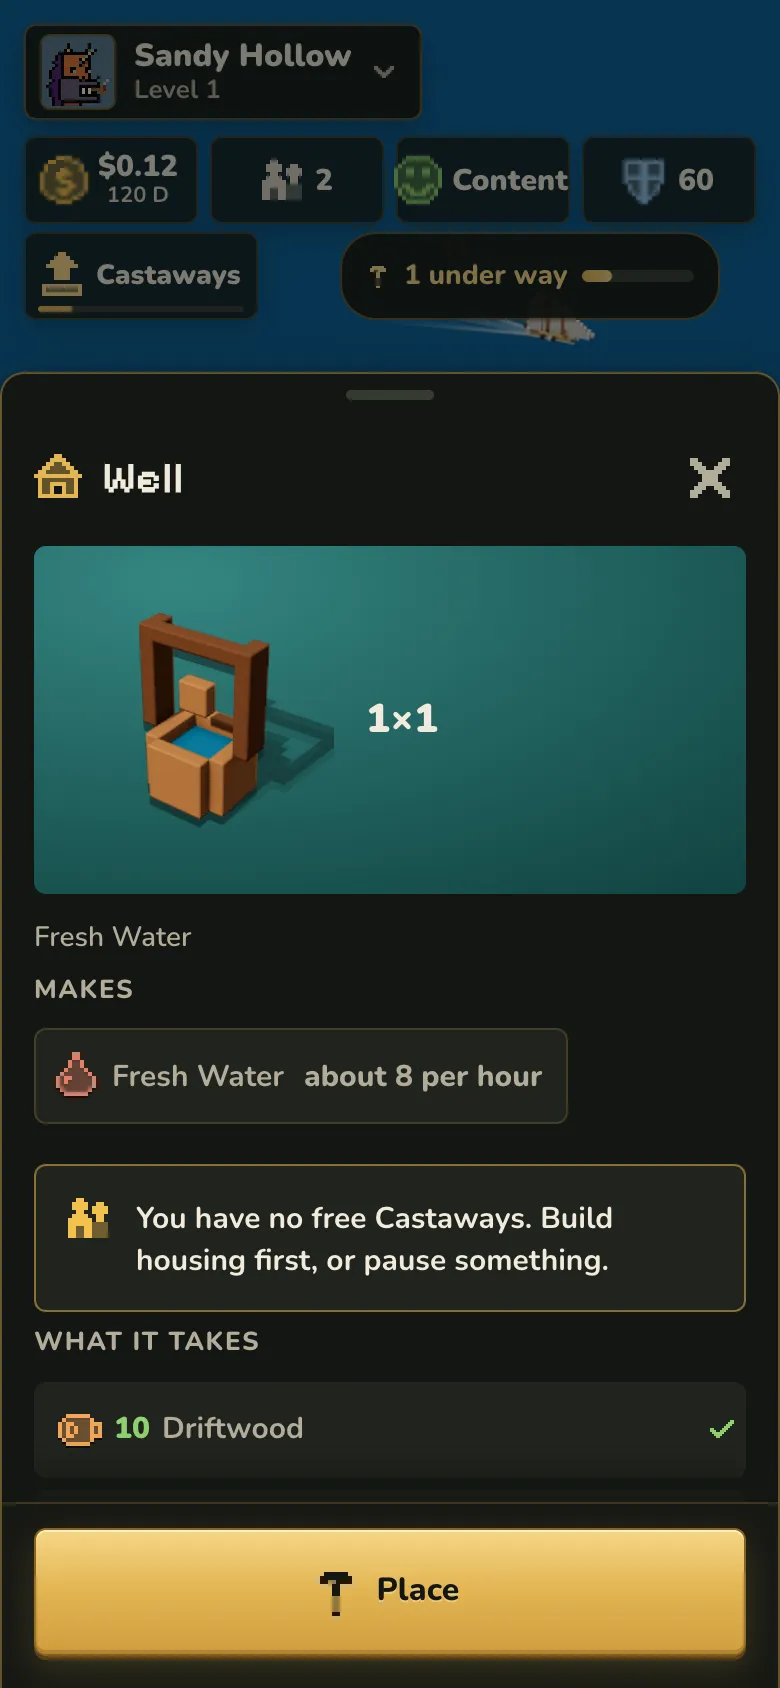
| Well | 10 Driftwood | 4 Castaways | 8 Fresh Water per hour |
| Fishing Hut | 10 Driftwood | 4 Castaways | 8 Fish per hour |
| Coconut Grove | 10 Driftwood | 4 Castaways | 8 Coconuts per hour |
| Driftwood Camp | 10 Driftwood | 4 Castaways | 8 Driftwood per hour |
| Lumber Camp | 10 Driftwood | 4 Castaways | 8 Timber per hour |
| Driftwood Hut | 20 Timber, 10 Stone and a blueprint | None | A home for 4 Castaways |
| Palm Hut | 20 Timber, 10 Stone and a blueprint | None | A home for 6 Castaways |
| Sawmill | 40 Timber, 30 Stone, 10 Planks, 50 Doubloons and a blueprint | 6 Settlers | One Plank from 2 Timber or Driftwood, three times an hour |
| Warehouse | 40 Timber, 30 Stone, 10 Planks, 50 Doubloons and a blueprint | None | More storage |
Your first Lean-to is already full with your two starting people, so new workers need new homes. Workers go to buildings in the order you built them, and a building with missing workers makes less in the same proportion.
The Crate Pile holds 300 of each good. A Warehouse opens with Settlers and holds 2,000 more of each good at level 1 and 40,000 at level 10. A full store stops production of that good, but nothing already stored is lost. Doubloons have no limit.
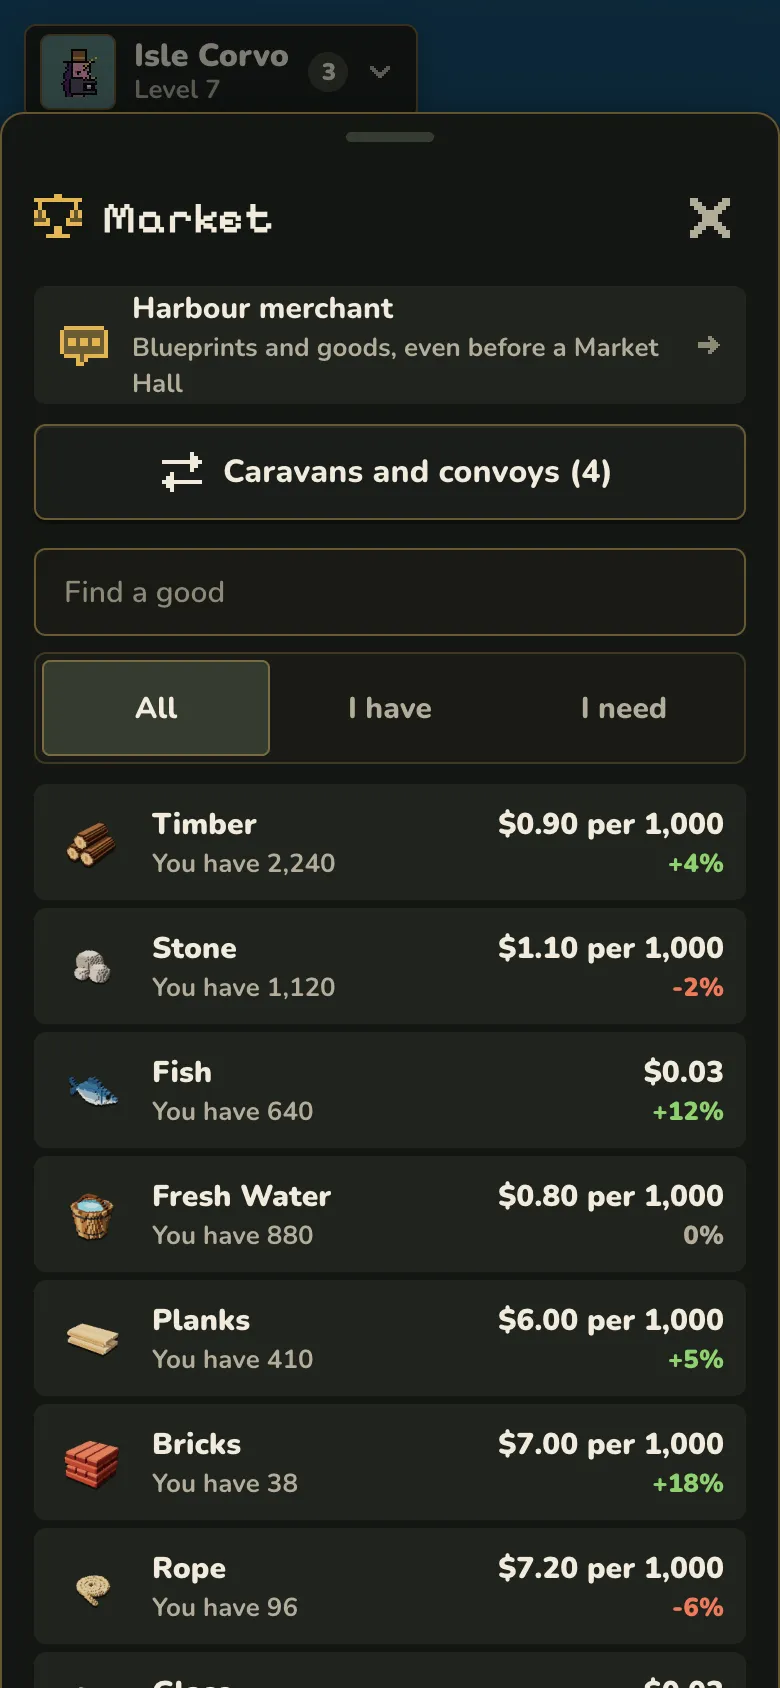
The first Sawmill needs 10 Planks to build. You can buy those first Planks, or Stone, from the harbour merchant.
You start with one building queue. A Scaffold Yard, Builder III and a few boosts add more, up to five at once.
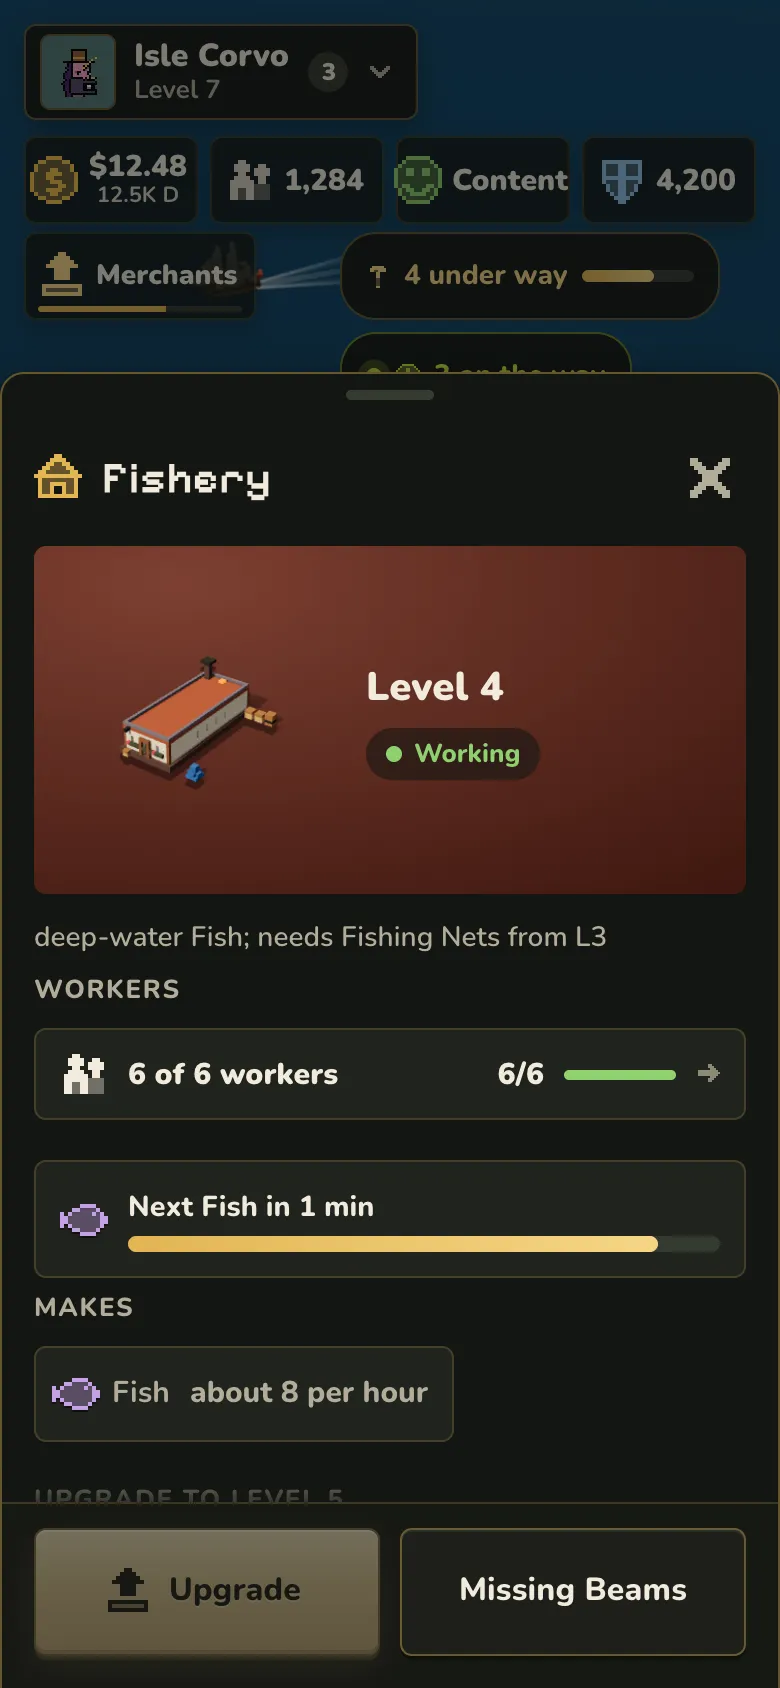
Buildings go up to level 10. Above level 1, your Unicorn Castle must be at least the level you are upgrading to. Levels 8 and up also need a working Builder’s Guild. A level 10 building makes five times as much as level 1, and it costs about 40 times as much.
Food that can spoil loses 10% of its stock each day. A working Granary stops that loss, and a Cold Store cuts it to about 3%.
Clearing a wild tile costs 2 Doubloons, plus one more for every 40 tiles you have already cleared. Forest, rock and beach tiles also give you goods when you clear them. Farms slowly tire their soil down to half of their normal output. A Lumber Camp or Quarry makes 1.25% more for each nearby forest or rock tile, up to 20%.
Advice
Add Lean-tos early. Keep a Well, a Fishing Hut and a Driftwood Camp staffed. When workers are short, pause the least important building and check the Workers screen. Add storage when an important good gets close to the limit, because another producer cannot fix a full store. Big upgrades, luxury goods and Wonders can wait until you have the workers, the inputs and the class for them.
Goods and what they are for
Goods feed your people, pay for buildings and repairs, go into workshops, and fit out ships and troops. Anything left over can be traded.
Kinds of goods
| Kind | How many | Examples | Where they come from |
|---|---|---|---|
| Raw | 14 | Timber, Stone, Fresh Water, Fish | Gathering buildings that need no input |
| Farmed | 25 | Wheat, Rice, Cotton, Grapes | Fields, groves and animal farms |
| Native | 24 | Iron Ore, Pearl Oysters, Gold Ore | Three for each climate |
| Salvage | 4 | Amber, Salvaged Timber, Salvaged Iron, Sea Glass | Wrecks and discoveries |
| Refined | 59 | Planks, Bricks, Cut Stone, Glass | Workshops, mostly for building and upgrades |
| Everyday goods | 32 | Bread, Ale, Tools, Clothes | Workshops, mostly for what Settlers and Artisans need |
| Luxury | 21 | Rum, Wine, Chocolate, Silk | Workshops, mostly for what Merchants and Nobles need |
| Exotic | 22 | Star Metal, Kraken Ink, Phoenix Ash | World events, deep expeditions and a few special workshops |
| Doubloons | 1 | Taxes and trade |
A workshop runs one recipe at a time. Some recipes accept one of several ingredients for the same slot. A product with its own blueprint needs that blueprint studied as well, even when the workshop is already built.
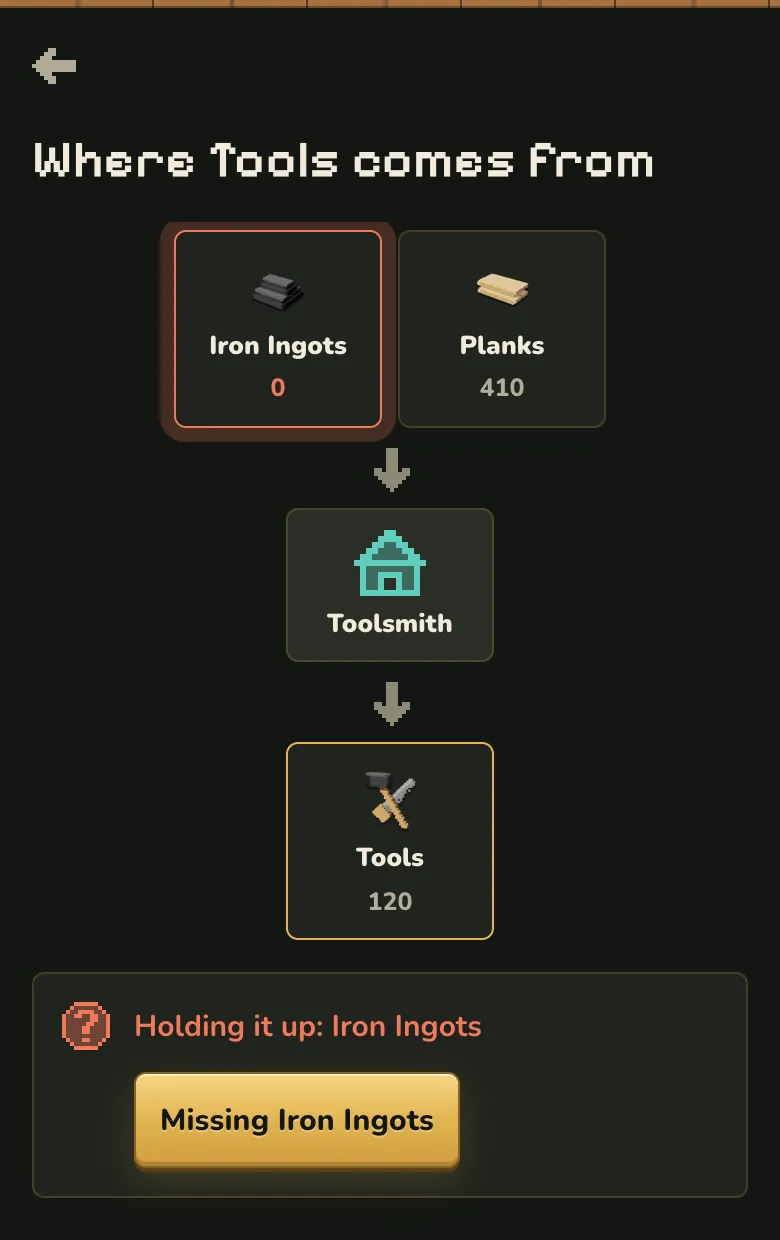
Tools are a good example of a chain. An Iron Smelter makes one Iron Ingot from 2 Iron Ore and 2 Coal, three times an hour. A Toolsmith then makes one Tool from an Iron Ingot and a Plank, twice an hour.
Trading, raids, expeditions and alliances
Trading
The harbour merchant buys and sells from the very start. The market opens with Settlers and a working Market Hall. There you sell goods for Doubloons, and the seller pays a 2% fee. Prices can move up to 25% above or below the usual price, and up to 40% for luxury and exotic goods. Orders at your own price need an Exchange, which opens with Merchants.
Trading with other players opens with Artisans. Your offer reaches an island in the same region after 10 minutes, or in another region after one hour. The other player then has 24 hours to answer. If they do not, your goods come back.
An accepted trade travels as a caravan on your ships. The ships need enough room for the goods. Loading takes 10 minutes, and sailing takes at least 20 more. You pay a harbour toll of 1% of the value you send. Caravans can be attacked at sea, other ships can join as escorts while it loads, and a blockade can stop a sea trade. An accepted caravan that never sails runs out.
Advice
Cover a shortage with the merchant or the market first. Before you send a caravan, check the room on your ships, the toll and the risk at sea.
Raids
Fleets, raids, war and alliances are open from the start. You do not need any Warlord research for them. A fleet needs at least one ship. Your harbour has 8 berths for your own ships, and each level of a Jetty, Pier, Harbour or Grand Harbour adds 4, 8, 16 or 32 more.
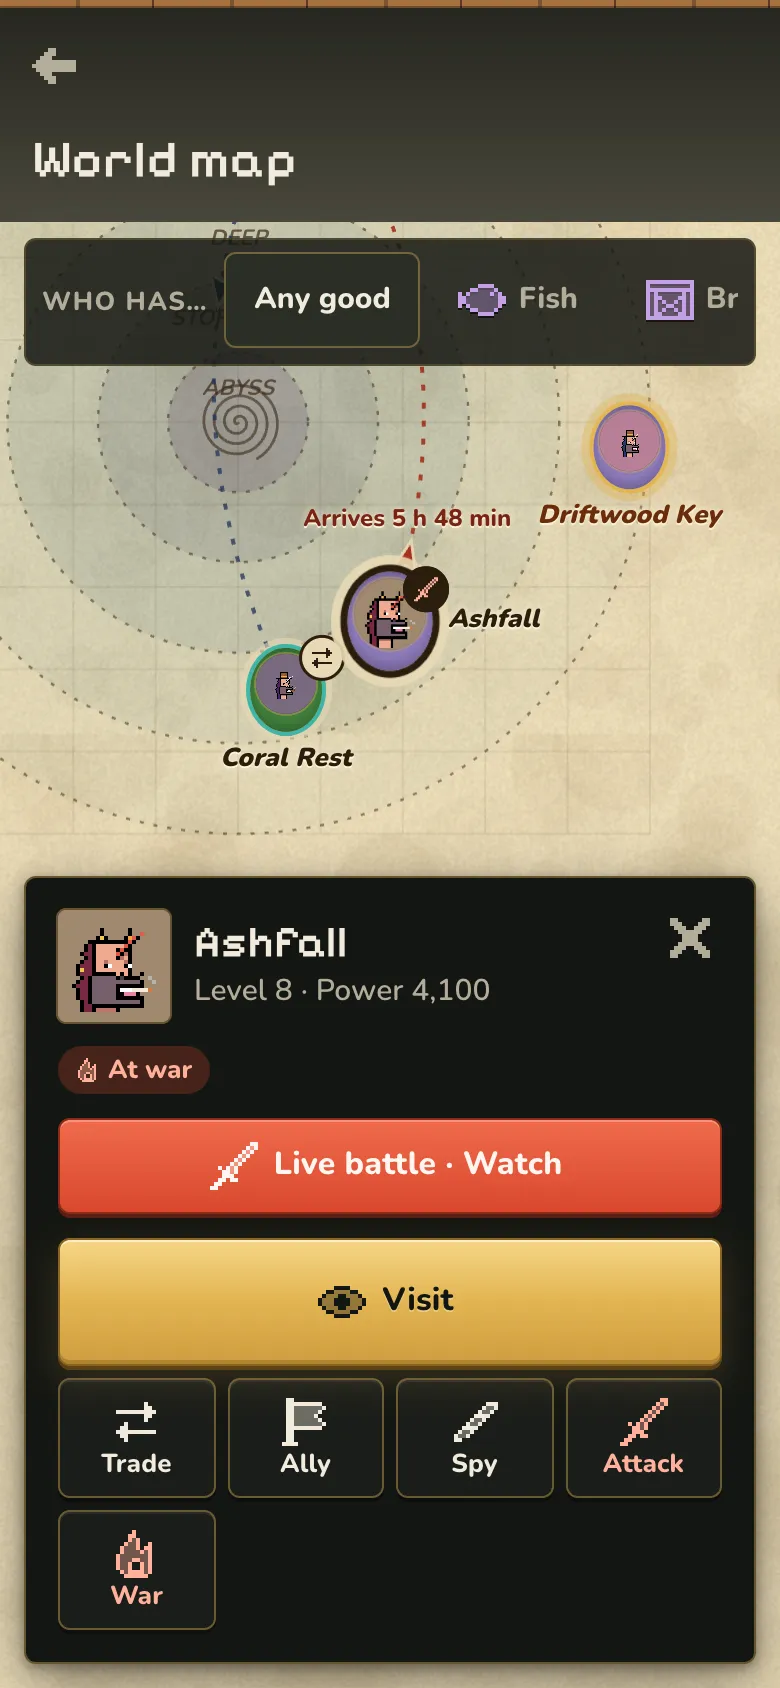
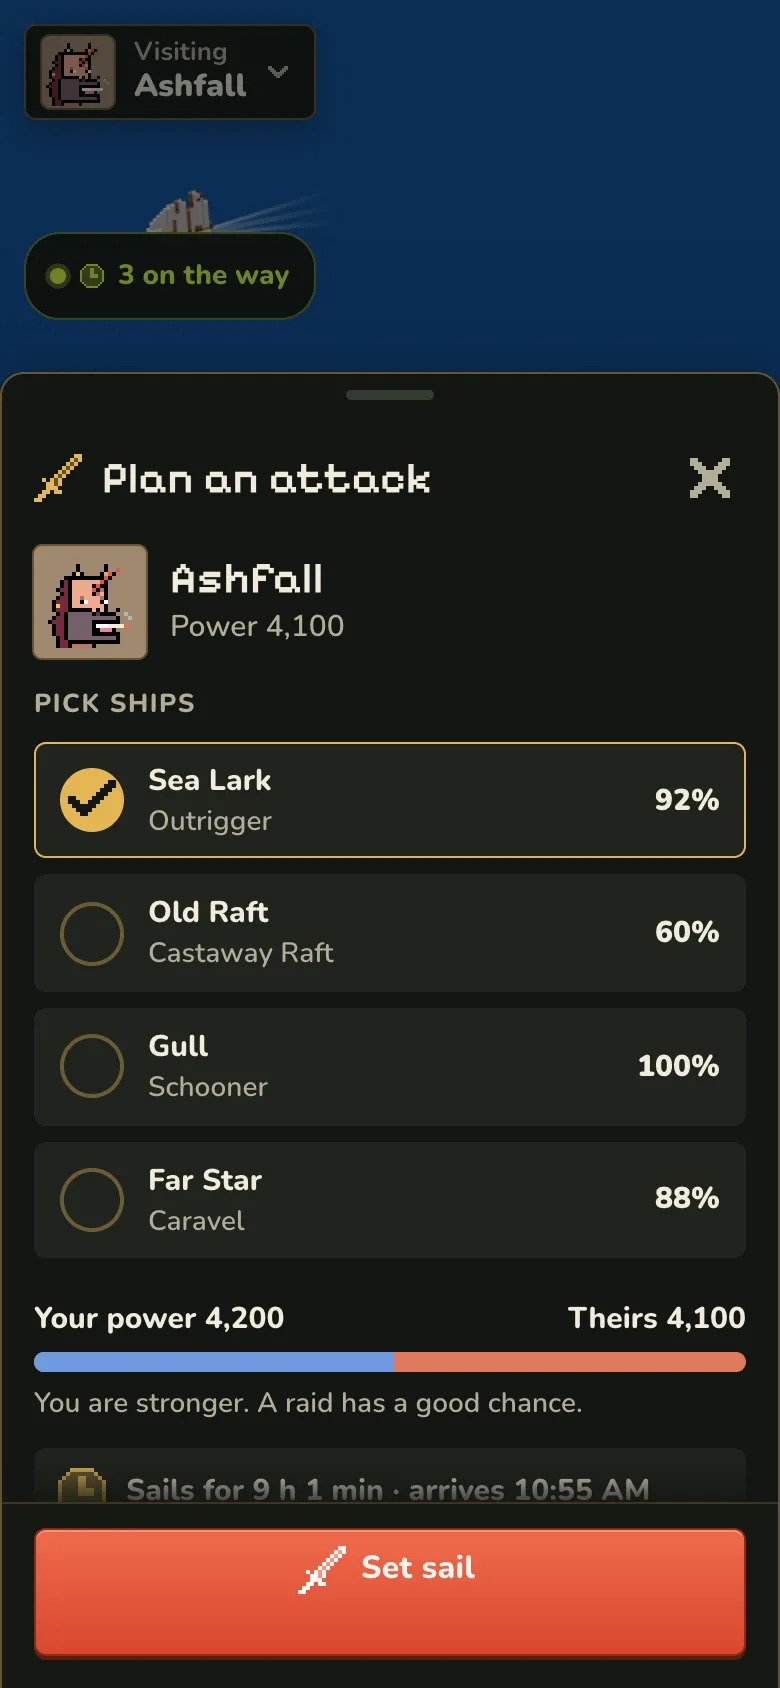
You can attack islands with 50% to 200% of your power, or 33% to 300% during a war. Revenge within 72 hours and pirate strongholds are open whatever their power. A raid sails for at least one hour, and a siege for at least four.
A successful raid starts from 15% of the unprotected goods in the warehouse, and then power, cargo room and earlier raids reduce it. The attacker keeps 70% of what is taken, and the other 30% is destroyed. The same attacker gets less from the same island within seven days: all of it the first time, then half, then a quarter, then nothing. No island loses more than 30% of its warehouse goods in any 24 hours.
A new island is protected for seven days. Your own first attack ends that protection early. After you lose a raid, you get six hours of protection, but a siege during a declared war ignores it. Peace Shields last 8 hours, 24 hours or 3 days. You can use them for at most 14 days in any 30, with a 12 hour gap after each one. A shield cannot stop a fleet that is already sailing, and it does not work against an enemy in a declared war.
Being offline gives you no protection. Only new-island protection, shields, the six hours after a lost raid, war rules and the power range decide who can attack you.
A ship at zero hull that you have not minted can be lost for good. A minted ship becomes a wreck instead.
Advice
Wait with your first raid until you are fine with losing your new-island protection, and until you can repair or replace the ships you send.
Expeditions
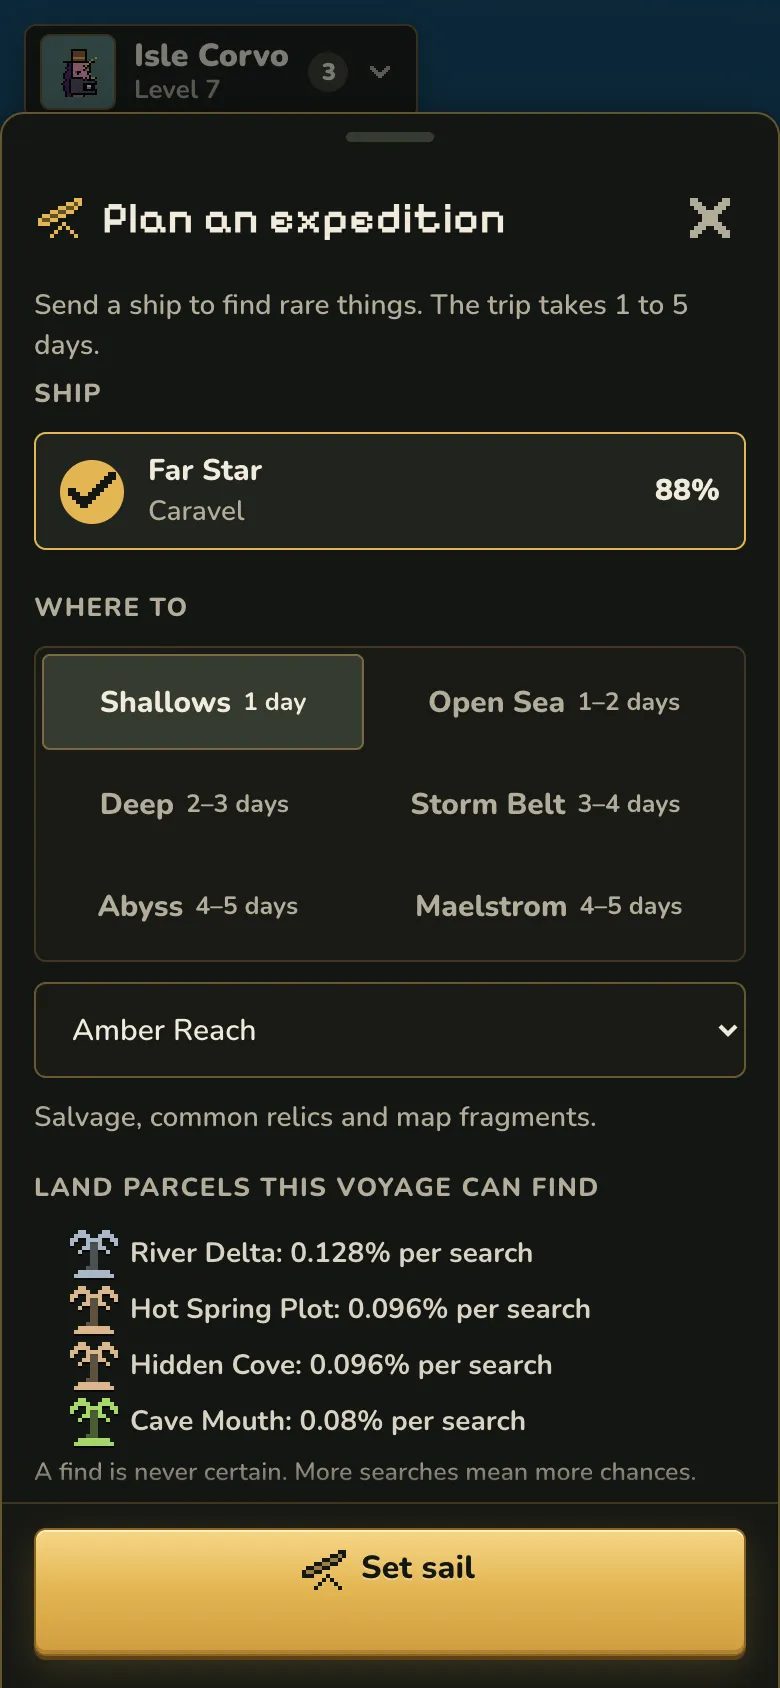
Expeditions open with Artisans. You need a Caravel, Explorer Bark, Survey Yacht or Diving Bell Barge with some hull left, a free expedition slot and food for at least one day. Each day costs 4 Rations and 8 Fresh Water for every point of the ship’s hull. A Caravel needs 16 Rations and 32 Fresh Water a day. One Expedition Supplies Crate counts as one day of food.
Where to sail. The last column is the chance that a find is Legendary or rarer.
| Destination | Days | Hull wear per day | Trouble each day | Legendary or rarer |
|---|---|---|---|---|
| Shallows | 1 | 1% | 5% | 0% |
| Open Sea | 1 to 2 | 2% | 10% | 0.2% |
| Deep | 2 to 3 | 4% | 20% | 2% |
| Storm Belt | 3 to 4 | 7% | 30% | 7% |
| Abyss | 4 to 5 | 10% | 35% | 17% |
| The Maelstrom | 4 to 5 | 12% | 40% | 60% |
The Maelstrom needs Nobles and Explorer tier V. It opens for the first 24 hours of each seven-day season, and each island can usually dig there once per opening.
Each day the expedition leader can press on, camp, dig, follow a Treasure Map, trade with hermits or turn back. If the ship is lost, its unfinished finds are lost with it. You can run one expedition at a time, and an Explorer’s Guild adds one more slot at levels 1, 5 and 10.
Advice
Start in the Shallows with a healthy ship, and take food for the whole trip.
Alliances
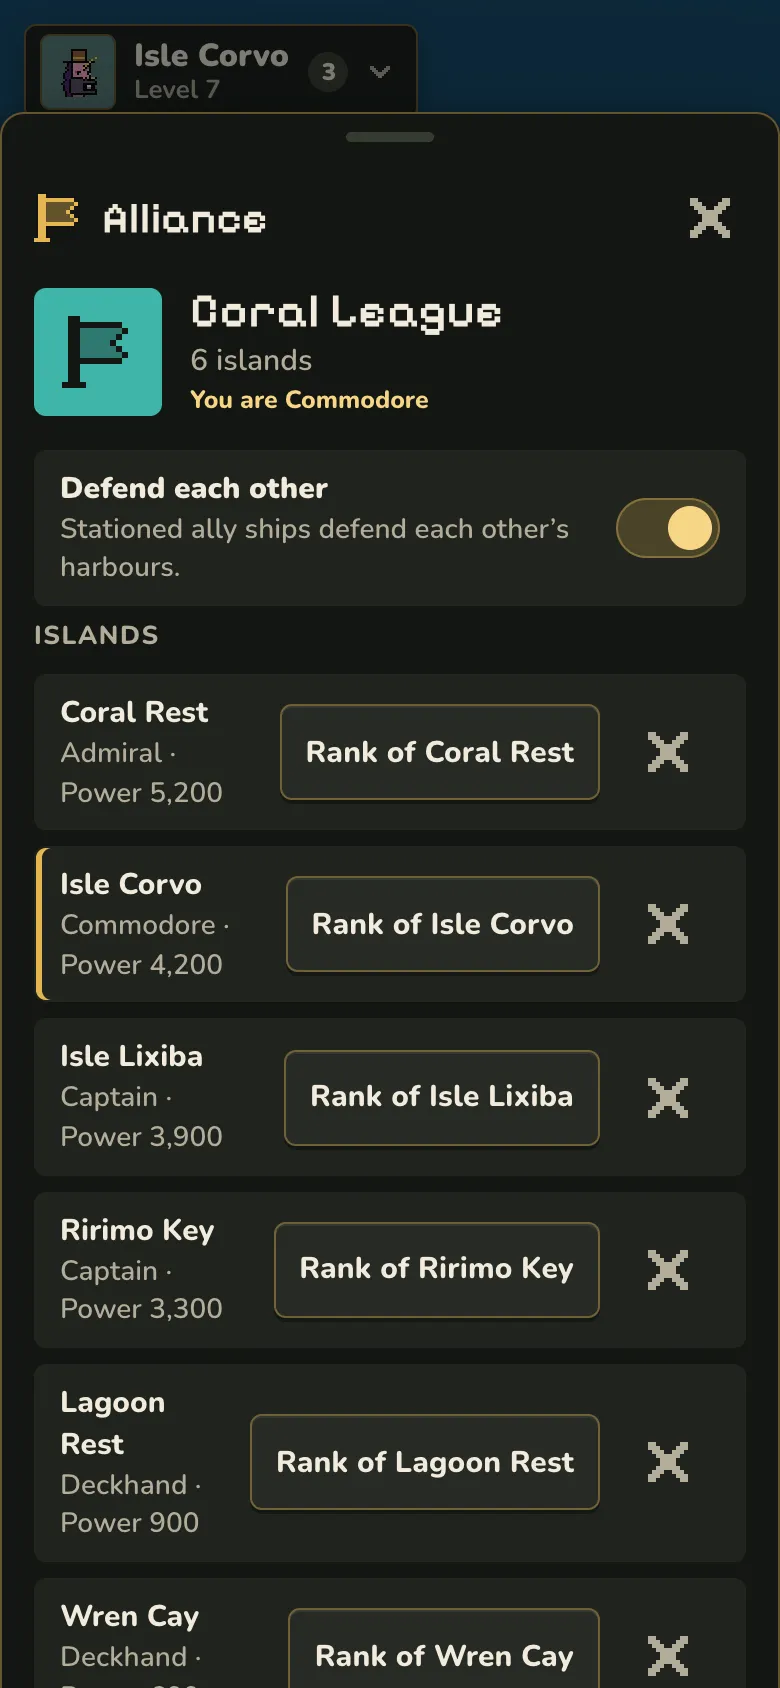
An alliance holds up to 30 islands, and each island can be in one alliance at a time. Starting one costs nothing. Its ranks are one Admiral, up to four Commodores, then Captains and Deckhands. These alliance ranks have nothing to do with your classes.
Every member can donate and station ships. Officers can invite and vote on war. Only the Admiral sets ranks, peace, shared defence and the banner. Allies can station up to 20 ships in one member’s harbour, and those ships defend it by themselves. The treasury can pay out up to 50,000 Doubloons of value a day to the Admiral, 20,000 to a Commodore, 5,000 to a Captain and nothing to a Deckhand.
An invitation waits 72 hours and counts as declined if nobody answers. A war starts 12 hours after it is declared and lasts seven days, unless it ends sooner. After that, the same two sides must wait 72 hours before another war.
Advice
An early alliance can help with defence and supplies. Read its war plans first, because a war changes your protection against its enemies.
Playing without sitting there
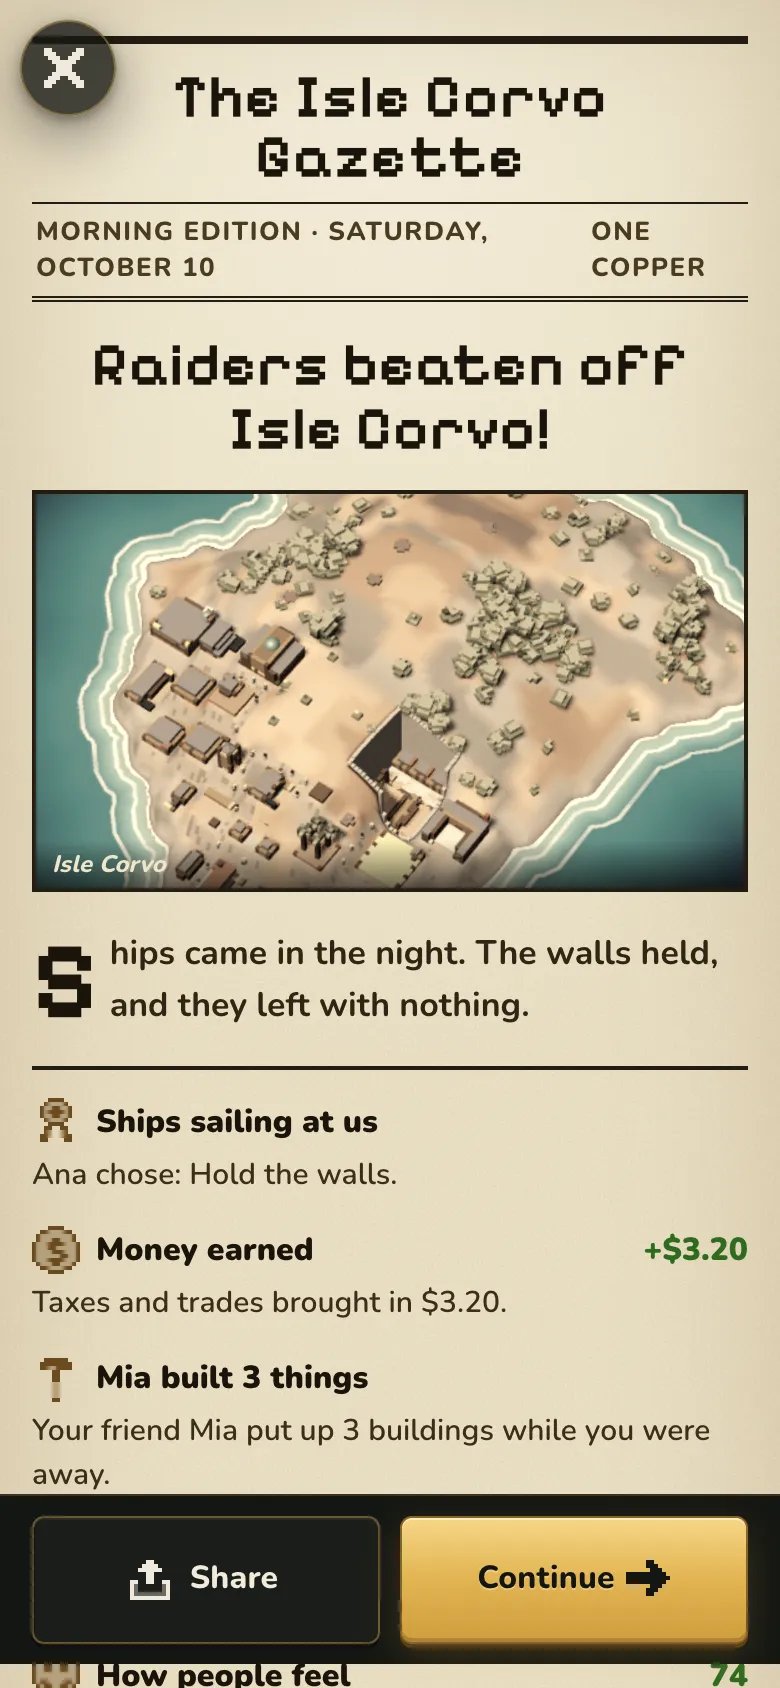
Your island keeps running when you close the game. Production, food and water use, taxes, new people, finished buildings and spoilage all go on.
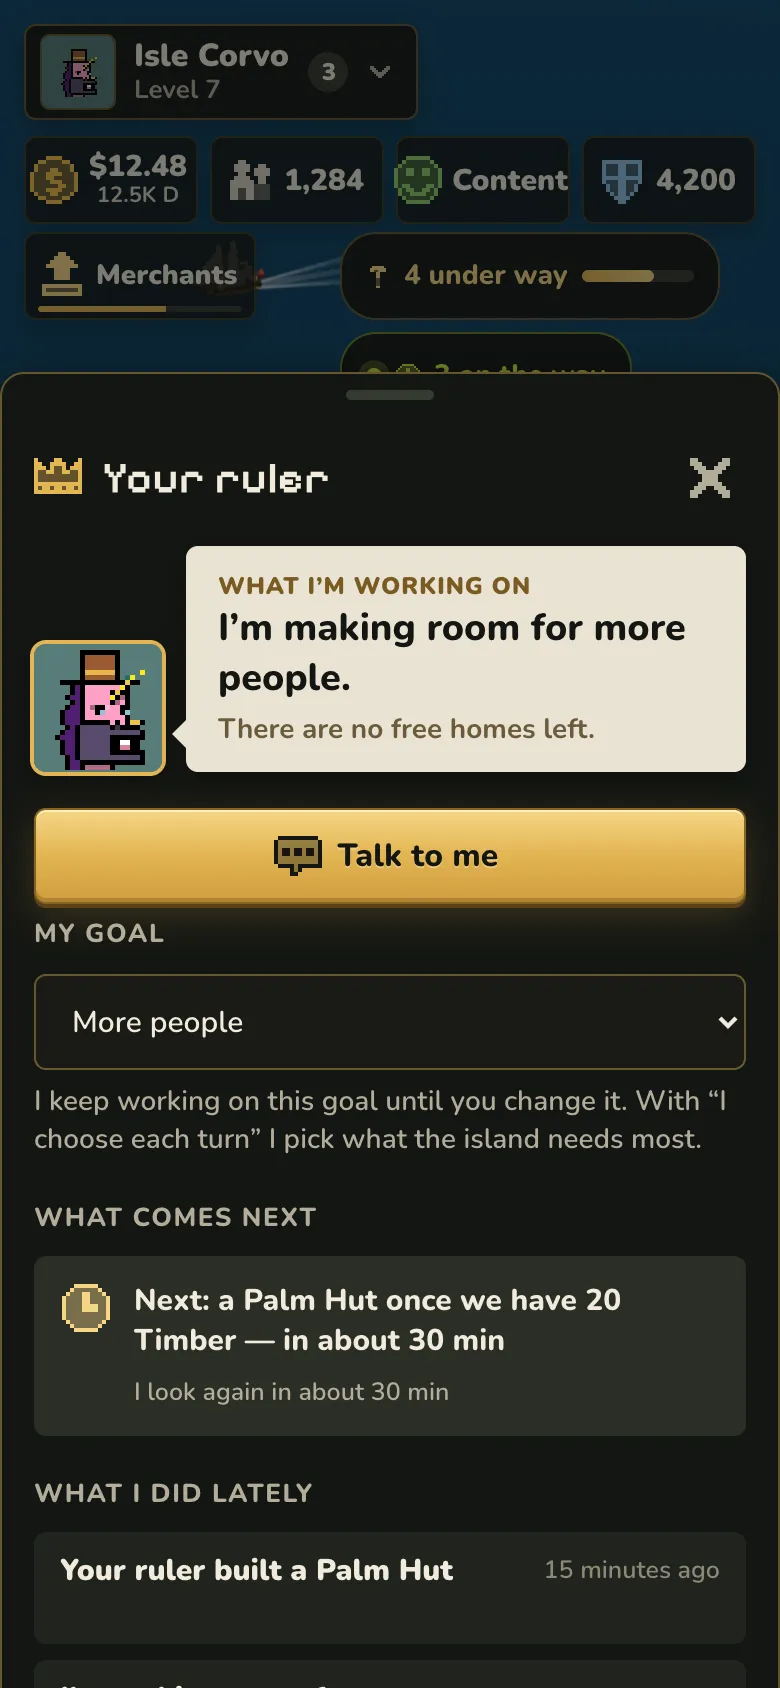
Your ruler takes a turn about every 45 minutes, and sooner when something happens. Each turn has up to three steps. The ruler can build, upgrade, repair, clear land, study blueprints you have, change production, buy what is short, sell what is spare, prepare ships and send expeditions. It only sails to the Shallows, Open Sea or Deep, it wants a healthy ship for each, and it packs food for the longest trip plus one day. If you played in the last hour, it leaves your production choices alone.
The ruler never raids, declares war, sells your Deed, mints by hand or manages your friends.
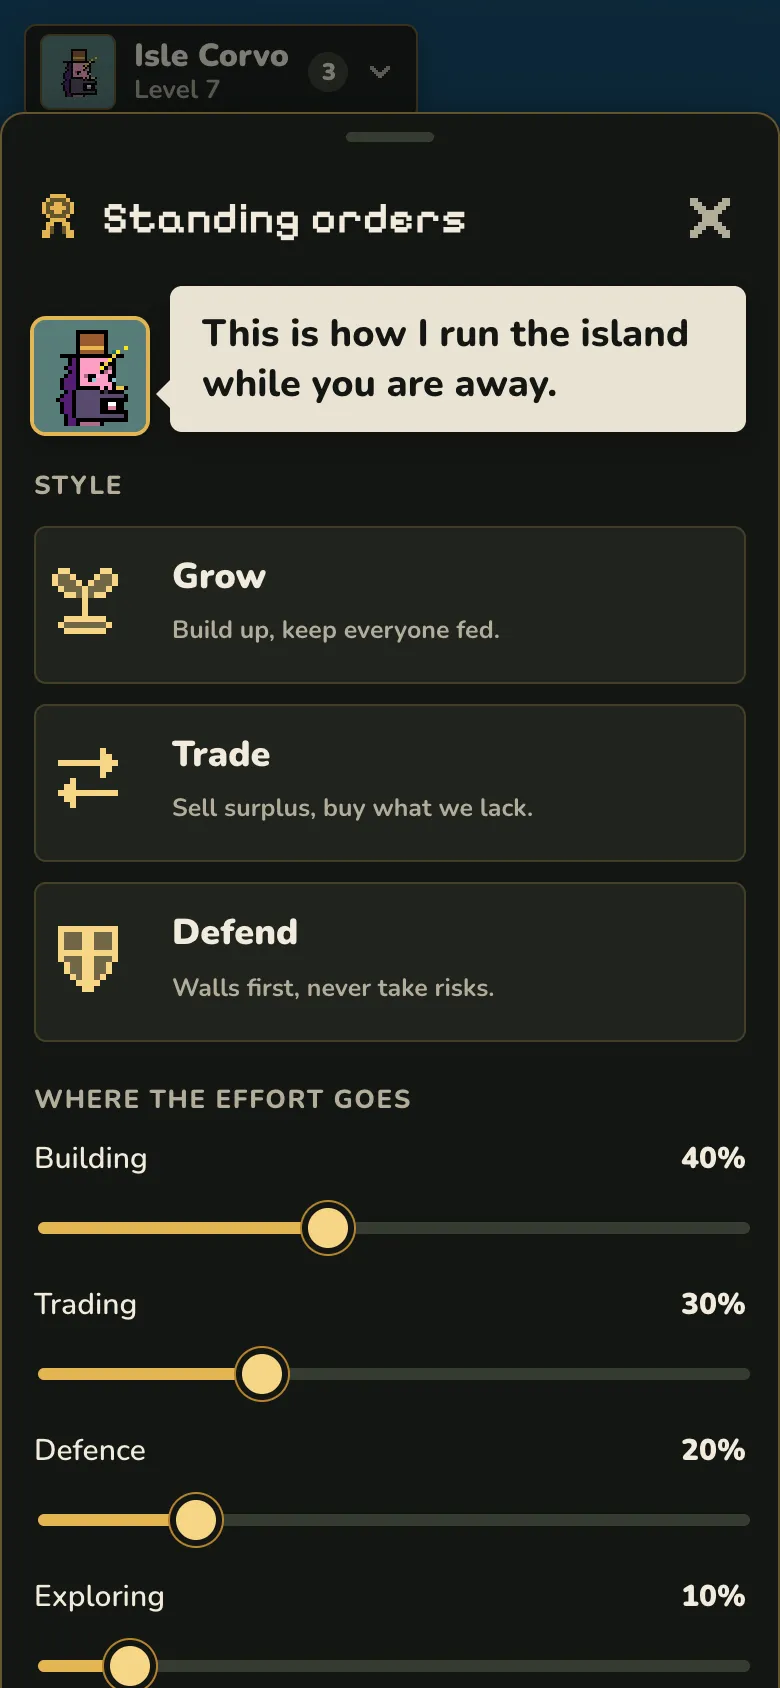
You steer the ruler with Standing orders. Grow, Trade and Defend each fill in the whole form at once. Grow splits effort 40% building, 30% trading, 20% defence and 10% exploring, with a budget of 500 Doubloons a day and no shields. Trade raises the budget to 1,500 Doubloons a day. Defend uses the Careful risk setting and may use one of your shields a week. Budget you do not use saves up for at most seven days.
The same form sets the goal, prices, reserves, which trades to accept, caravans, defence, help for allies, world events, minted goods and quiet hours. Using minted goods is off at first. When you switch it on, the ruler may use minted goods and place buildings you own as items. Quiet hours hold back the usual Telegram alerts but still let the morning report through, and the island keeps running.
Some questions come to you as cards with a time limit. If you do not answer, the default happens: a rare find is kept, a big trade or alliance invitation is declined, and an attack is met with your standing defence orders. Only five cards stay open, and a sixth settles the oldest one with its default.
A day and night on the island lasts two hours: 80 minutes of light and 40 of night. A season lasts seven days and a year 28. Daily limits reset at midnight UTC.
Advice
Before you leave, check the food and water clocks, inputs, workers, storage and your Standing orders. The ruler stays within its budget and its permissions, so it cannot fix everything.
Your crew
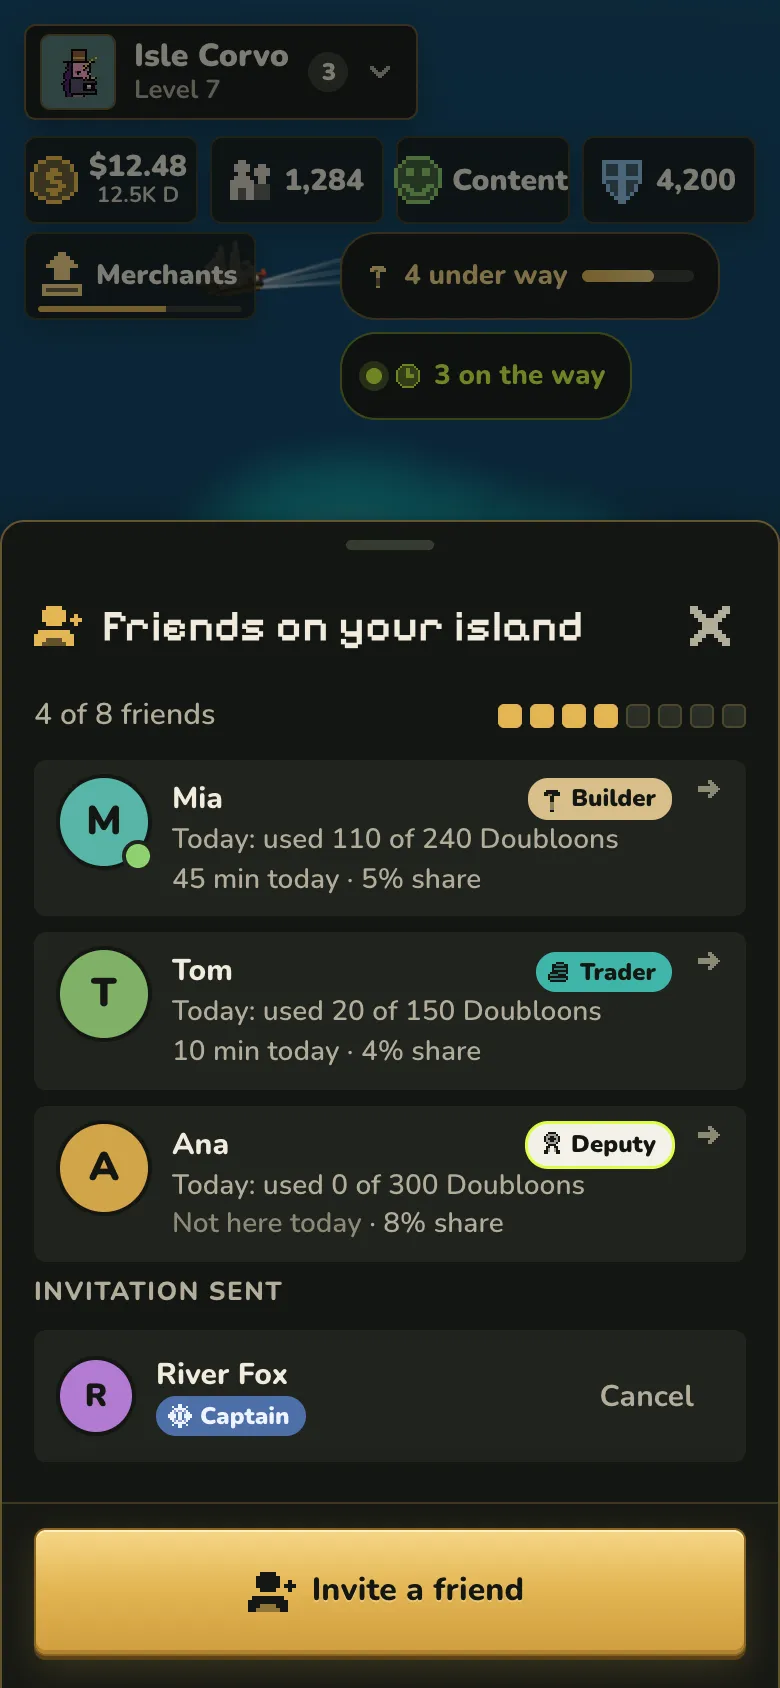
Up to eight friends can play on your island with you. An invitation you have sent takes a seat until it is answered. One player can be a friend on up to three islands, and owning islands does not count toward that.
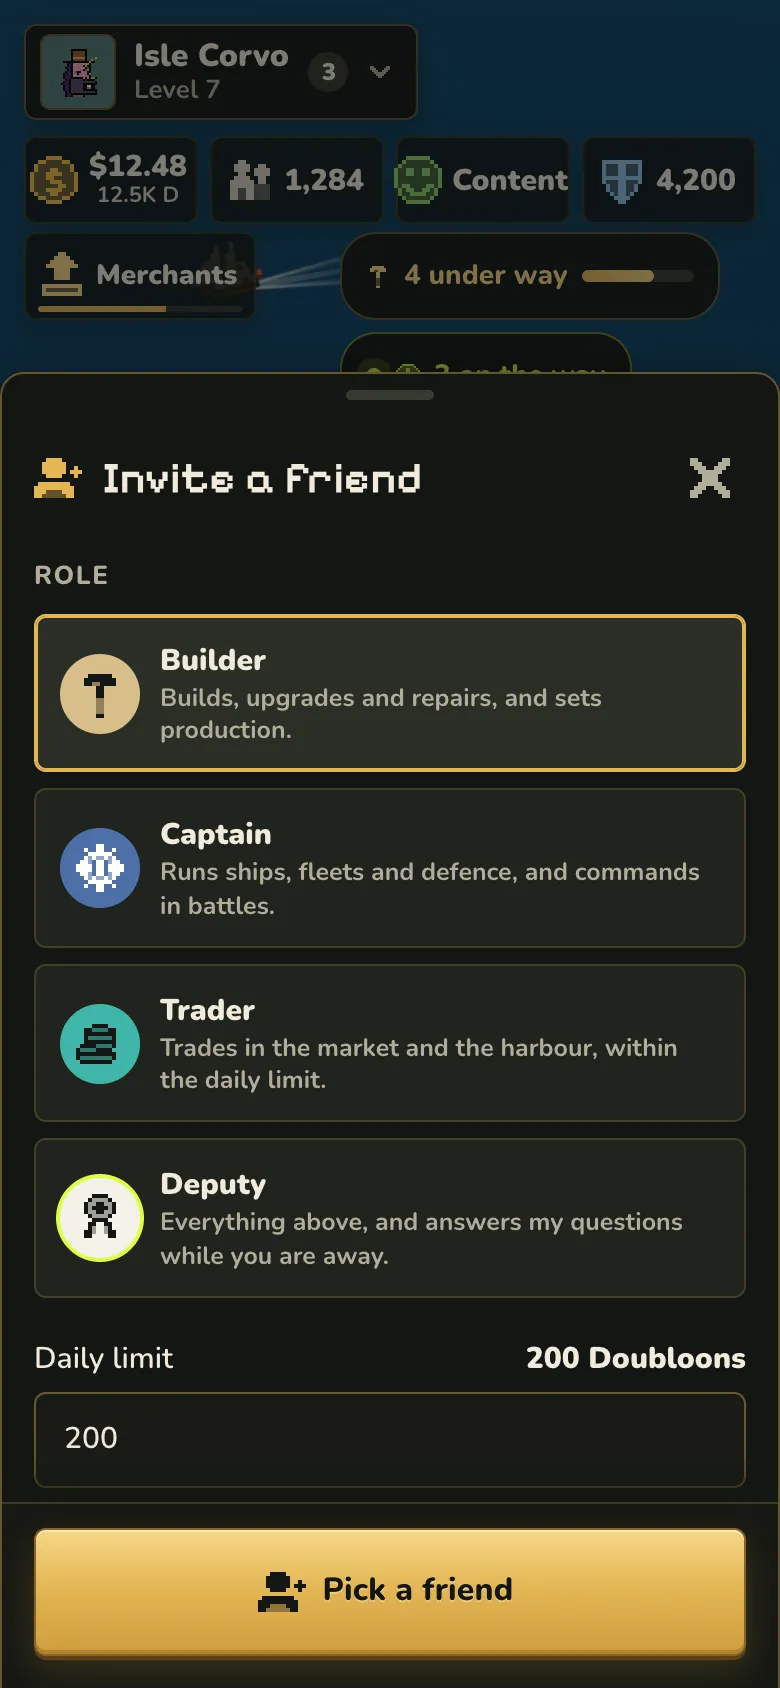
For each friend you pick a role, a daily spending limit and a share of what the island produces. The invitation starts at 200 Doubloons a day and a 5% share, and you can change both before you send it.
Friend roles
| Role | What they can do |
|---|---|
| Builder | Build, upgrade, repair and remove buildings, choose production, and clear or reclaim land. |
| Captain | Build and repair ships, train troops, run fleets and expeditions, raise shields and command battles. |
| Trader | Use the merchant, the market, offers and caravans within the daily limit. |
| Deputy | Everything above. A Deputy also answers your cards once you have been away for more than 15 minutes, except cards about war, rare finds and alliance invitations. |
The friend role called Captain is separate from the alliance rank with the same name.
Spending counts the goods a friend uses at their usual price, plus Doubloons, and resets at midnight UTC. One friend can get at most a 10% share, and all friends together at most 30%. A friend earns their share only on days they play on your island for at least 30 minutes. The share covers goods the island produces. It leaves out finds, unique items, shop purchases and Doubloons.
A friend without an island of their own can still play. Their earned goods wait in a share pile of up to 5,000 until they have an island to receive them.
Friends cannot change Standing orders, mint or sell items, move minted goods into the warehouse, sell the Deed, change auto-mint, declare war, install land parcels or manage friends. A friend can only send an attack if your defence effort is above zero and your risk setting is not Careful.
You invite friends with the game’s friend picker. You can change their role or remove them later.
What you own, and what you can trade
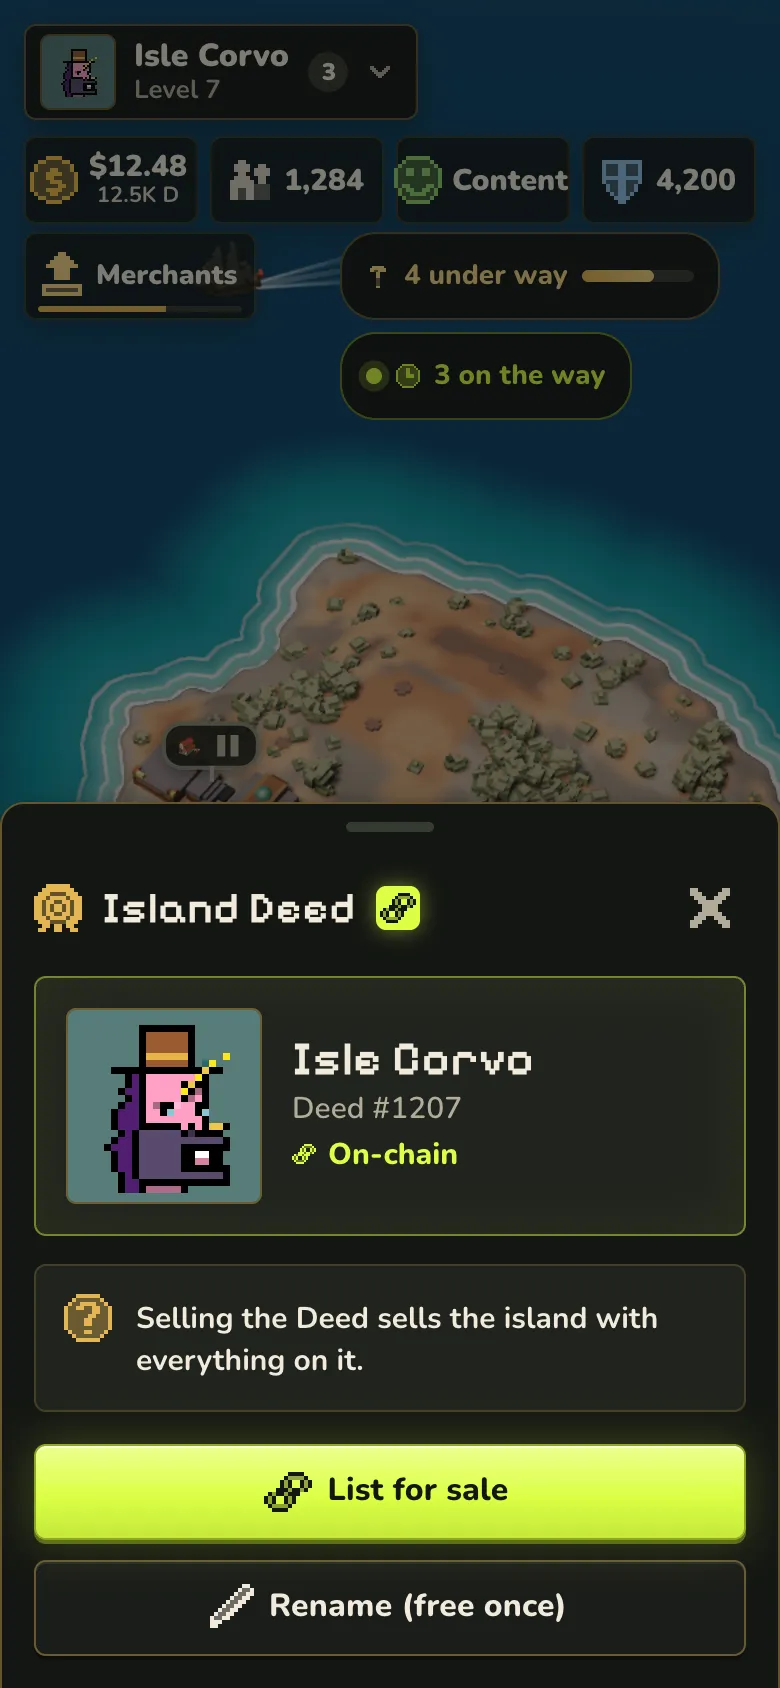
Your island is a Deed. A Deed is an item in your wallet, and whoever holds it owns the island. Castaways runs on Robinhood Chain.
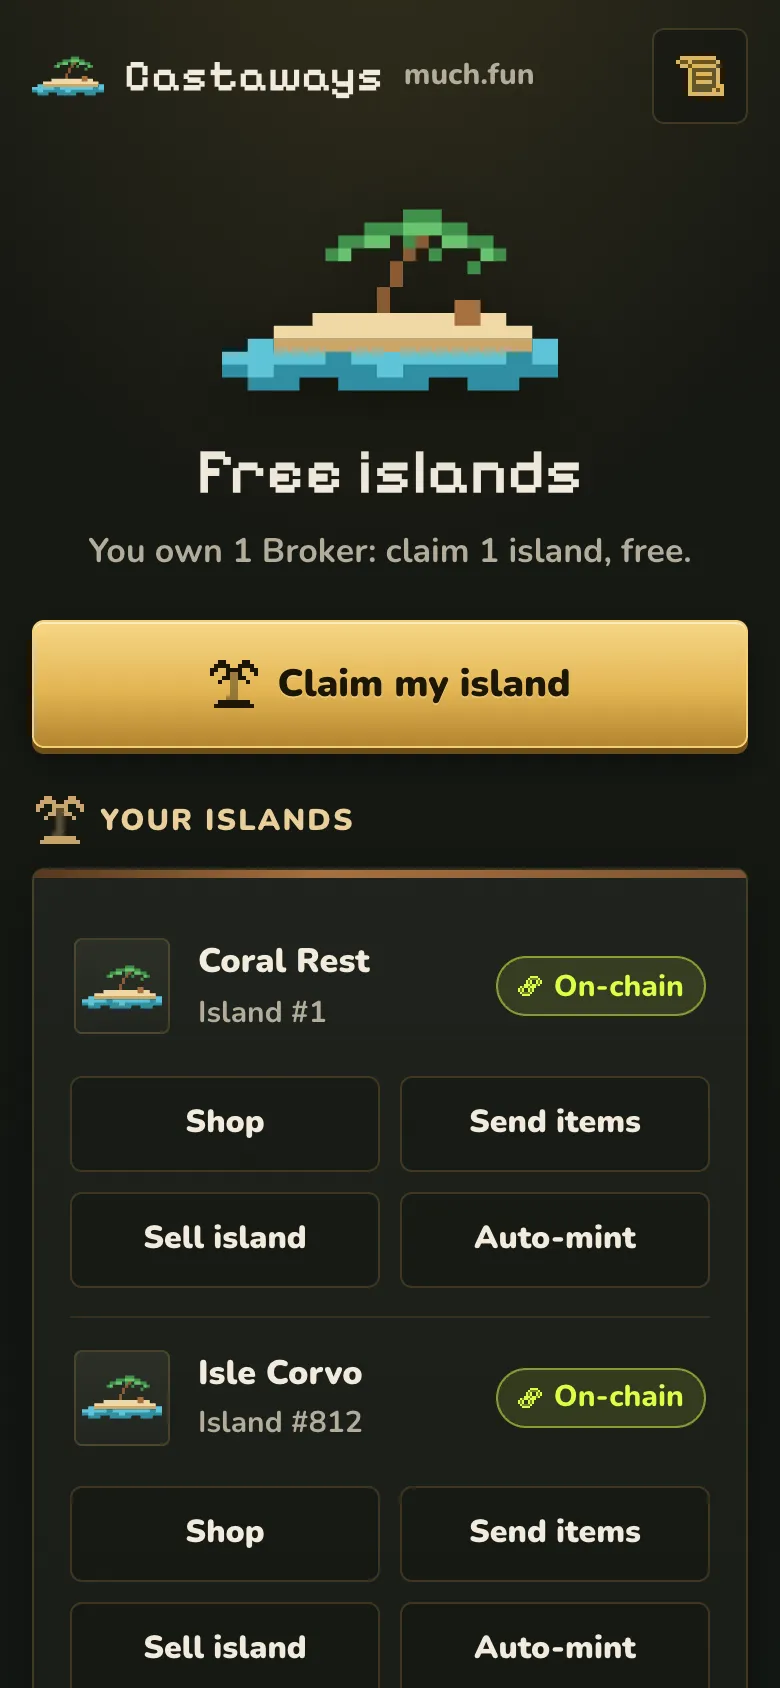
There are three ways to get an island. If you hold a Broker, you can claim its matching island for free on castaways.much.fun. You sign one free message per island, the game pays the network fee, and you can play while the island arrives. Anyone can buy a Deed in the Deed sale. You can also play on a friend’s island without one.
The Deed sale price is set in dollars. It was $25 per Deed when this guide was checked, and you pay with MUCHFUN or ETH. When you pay with ETH, it is swapped into MUCHFUN and any ETH left over comes back to you. You can buy up to five Deeds per order, a price quote stays valid for two minutes, and the sale runs until 9 October 2027.
Each island also has its own storage on the chain. That storage belongs to the Deed. When the Deed changes hands, the storage and everything in it go with the island. The old friends are removed, and the old auto-mint permission ends.
Turning game things into items you hold
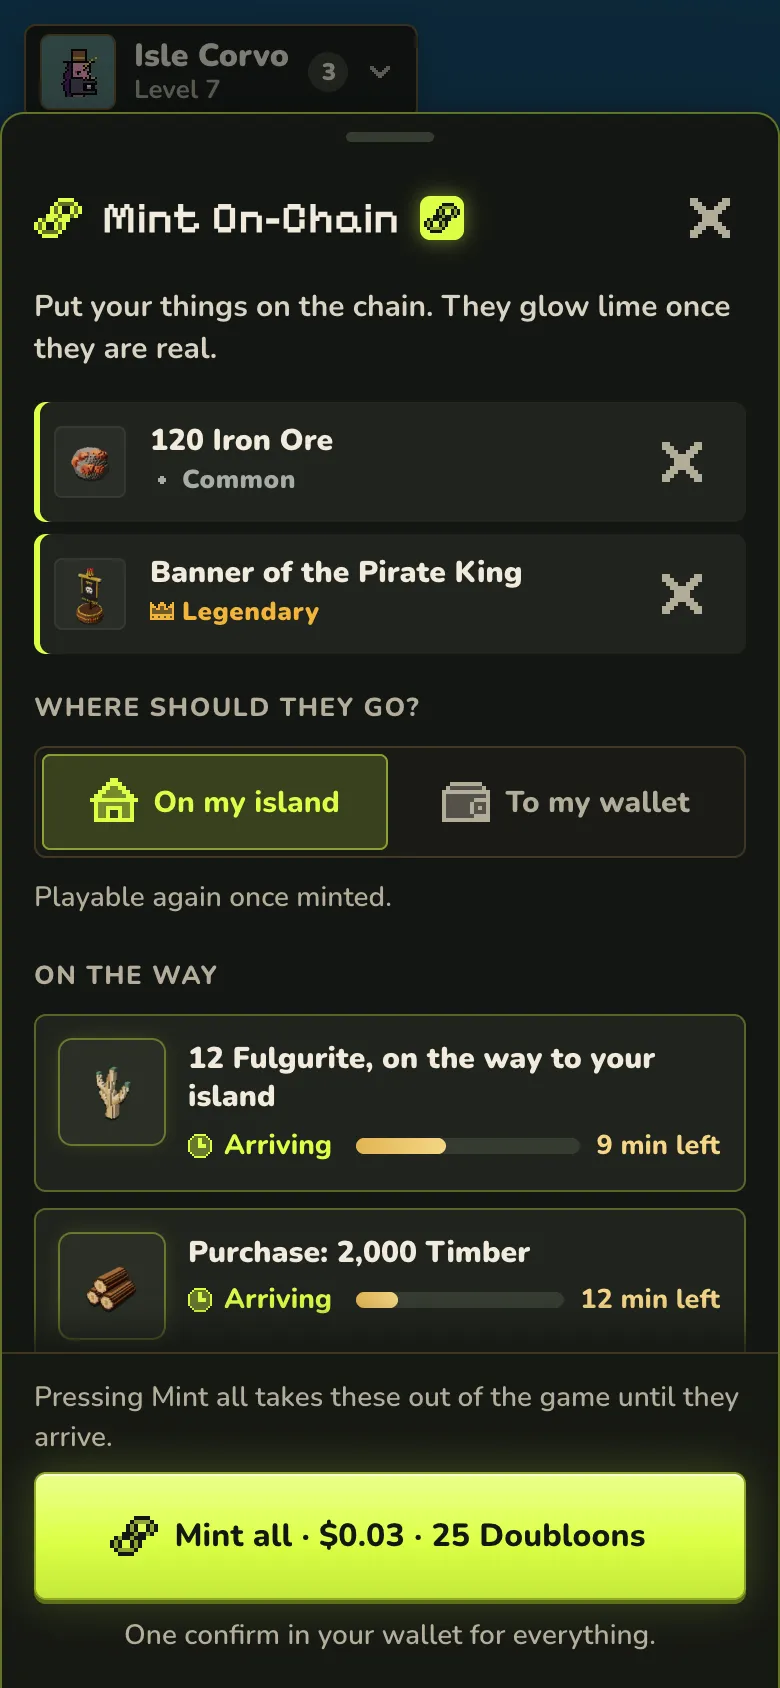
The Mint On-Chain button turns things from the game into items you hold on the chain. You can then keep them, send them and trade them. These kinds of things can be minted:
- buildings, ships, crew and captains
- relics, blueprints, wonders and cosmetics
- land parcels and goods
Raw, farmed, native and salvaged goods can be minted from Settlers on. Everything else can be minted from Artisans on. You choose where the items go. “On my island” puts them in the island’s own storage. From there, Move to warehouse turns goods back into ordinary game stock and removes their chain copy, and a minted building can be placed on the island. “To my wallet” takes items out of the game until you send them back to an island.
Every time you press Mint all, it costs 25 Doubloons plus a small network fee in ETH. The 25 Doubloons do not come back if the mint is cancelled or runs out.
With items in your wallet you can:
- keep them,
- send them to another player,
- send them to any island with Send items on the website,
- sell Deeds and collectible items on the much.fun NFT market that the site links to,
- bring them back into the game.
Using up a minted item removes its chain copy. Before a Legendary or rarer item is used up, you confirm it with a free signature. None of this pays out money.
Goods trading through the game’s exchange opens when markets for those goods are funded.
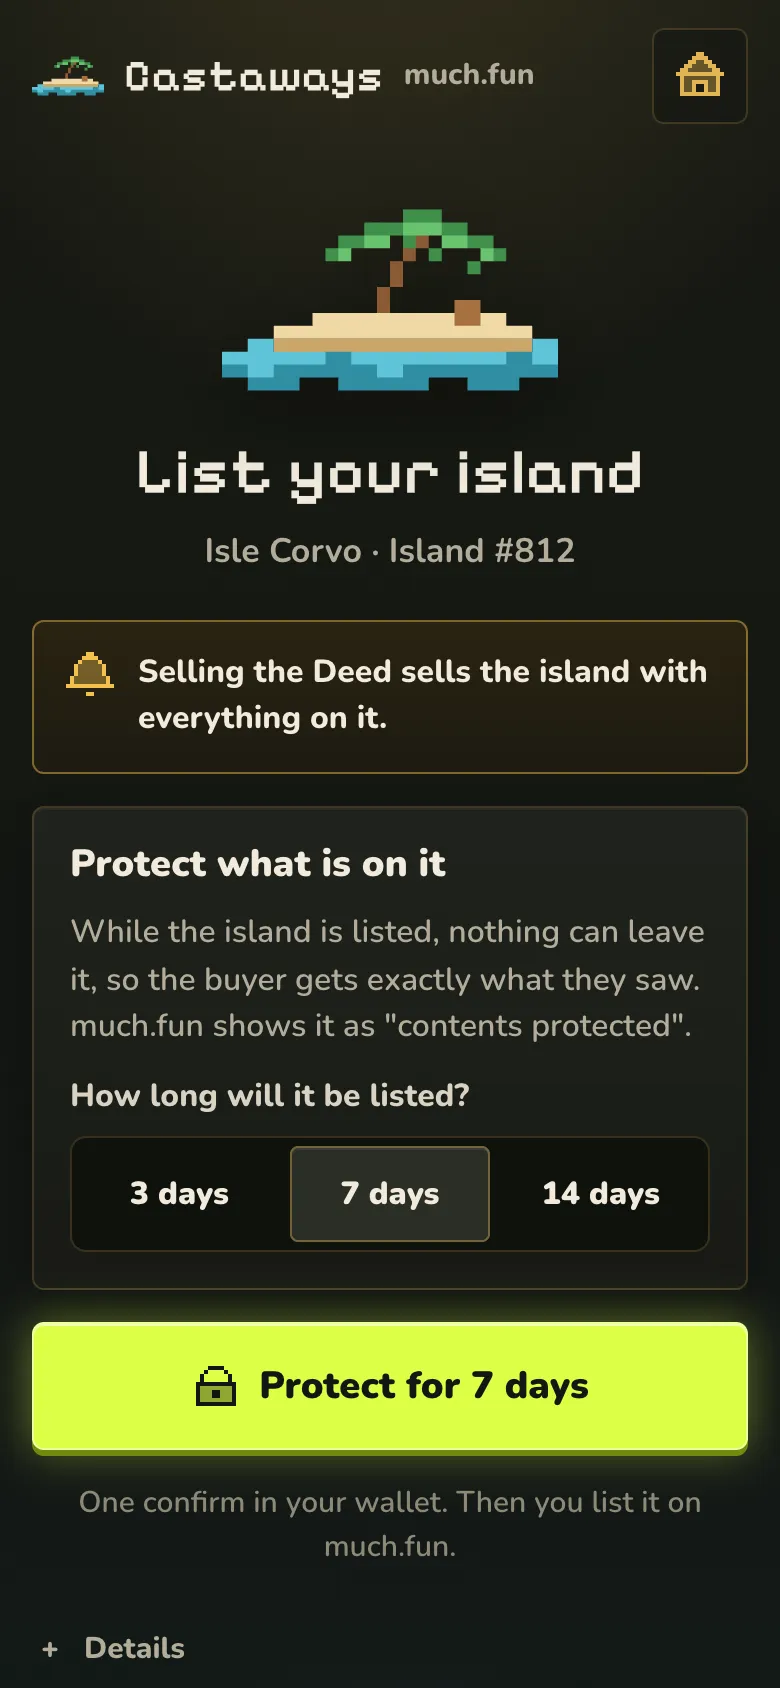
To sell your island, use Sell island on the website. It lets you lock the island first, so nothing can leave it while it is listed. Then you list the Deed on the market the site links to.
Auto-mint
Auto-mint saves Legendary, Mythic and Singular finds onto the chain by itself. They go into the island’s own storage. You turn it on with a free signature, and that permission lasts up to 90 days, with at most 20 auto-mints a day. The first five auto-mints per island each day are free. After that, they are paid from your own mint fund in ETH. If the fund is empty, the auto-mint waits. Auto-mint does not charge the 25 Doubloons. Money in the mint fund stays yours, and you can take it out at any time, even after you sell the Deed.
The shop
Shop items go straight into the storage of the island you choose, and you can send them to another island as a gift. Prices are set in dollars and paid with MUCHFUN or ETH. The shop never sells Legendary, Mythic or Singular items.
Shop prices as set on 11 October 2026
| Product | What is inside | Price |
|---|---|---|
| Harbour Starter | 2,000 Timber, 800 Stone, 100 Planks and a Jetty | $9.99 |
| Castaway’s Bounty | 5,000 Timber, 2,000 Stone and 500 Doubloons, once per island | $4.99 |
| Timber Crate | 1,000 Timber | $0.99 |
| Blueprints | One of 18 common blueprints, such as the Market Hall, the Sawmill or tier I of a path | $0.99 each |
| Reclamation Kits | 10 kits | $9.99 |
| Small land parcels | Sand Spit, Lagoon Fill, Meadow Plot or Forest Plot | $9.99 each |
| Large land parcels | Rocky Rise, Reef Terrace or Cliff Shelf | $19.99 each |
Land parcels add land to your island, and a parcel stays put once it is installed. The shop sells seven kinds. Eleven rarer kinds are found on expeditions and digs. To reclaim a shallow tile yourself, you need 20 Stone, 20 Sand and one Reclamation Kit, and one more kit for every 200 tiles you have already reclaimed.
What is free and what costs a network fee
These things are free:
- signing in on the website,
- connecting the game to your wallet with its six-character code, which works once within ten minutes,
- claiming a Broker’s island on the website,
- the first five auto-mints per island each day,
- everyday play in the game.
These cost a small network fee in ETH, paid from your wallet:
- Mint all, and moving items to your wallet,
- buying in the shop or the Deed sale,
- Send items,
- locking an island before you sell it,
- adding to or taking from the mint fund, and turning auto-mint off.
The network fee changes over time. The fee in dollars that the site shows is an estimate.
Advice
Keep working supplies in the game until you have a reason to move or sell them.
Quick start
- Get an island. Claim it with your Broker, buy a Deed, or ask a friend to invite you.
- Connect the game to your wallet when it asks. This is a free signature.
- Build Lean-tos, a Well and a Fishing Hut, and keep food and water covered.
- Keep your Castaways supplied for six hours in a row, and Settlers will move in.
- Buy your first Planks from the harbour merchant, then build a Sawmill, a Market Hall and a Warehouse.
- Set your Standing orders before you leave.
- Invite a friend or two and give each one a role.
- Mint only what you want to hold, send or sell.